


How to Plan A Sim Racing Setup For Home Racing
|
|
A good sim racing setup starts with more than a wheel and pedals. The cockpit needs to stay firm under braking, the wheelbase needs to match your platform, the pedals need the right pressure range, and your screen position needs to feel natural once you start driving.
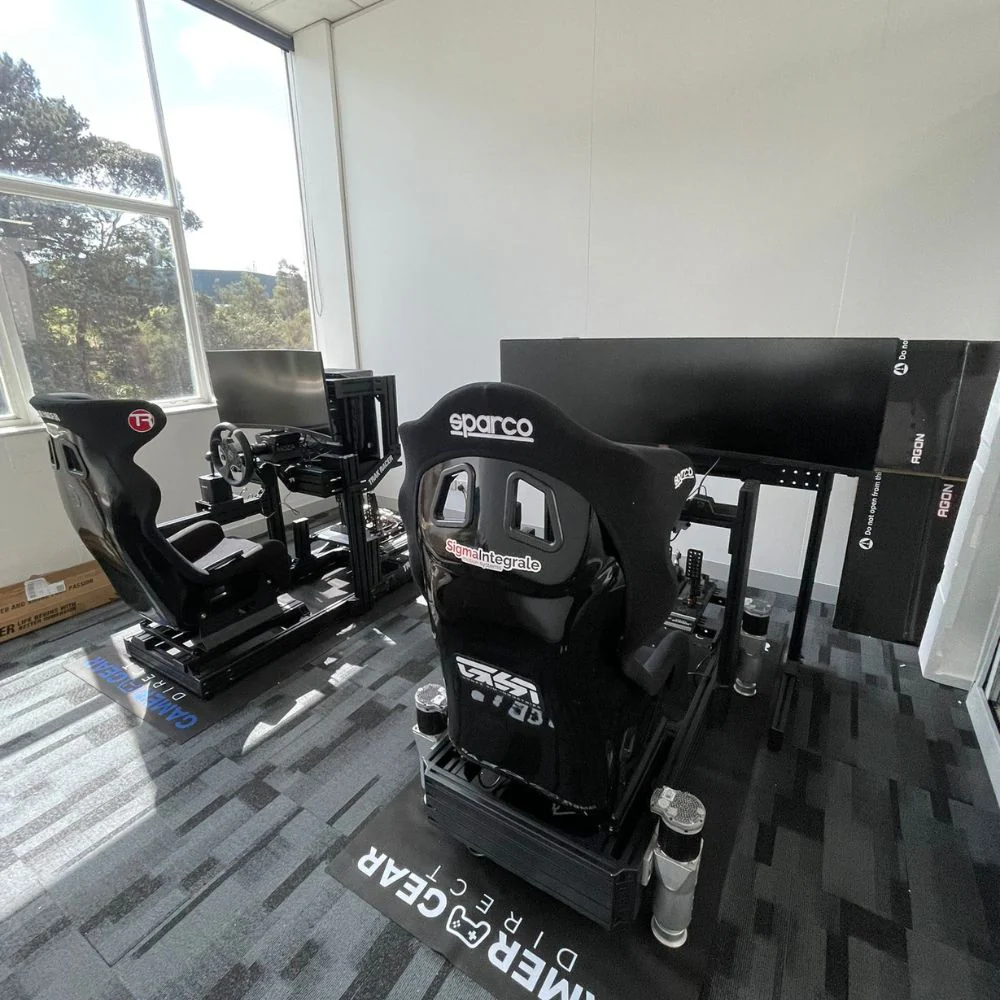
At Gamer Gear Direct, we've tested a wide range of wheels, pedals, cockpits, monitor stands, shifters, handbrakes, and motion-ready rigs through showroom use, product checks, and customer appointments at our Dandenong showroom. We've seen what works well in a lounge room, what needs more space, and what can cause problems once stronger hardware is added.
This article breaks down how to plan a sim racing setup for home use, based on the gear choices and setup issues we see most often with Australian sim racers.
Our team has tested sim racing hardware across entry-level, mid-range, and high-end builds. That includes compact wheel stand layouts, foldable cockpits, tubular frames, aluminium profile rigs, direct drive wheelbases, load cell pedals, triple monitor stands, shifters, handbrakes, and motion-ready frames.
During testing, we look at cockpit flex, wheel deck movement, pedal plate strength, seating position, brake pressure, monitor placement, cable routing, platform compatibility, and how easy the sim racing setup is to adjust between drivers.
We also pay attention to the issues customers ask about during showroom appointments. The same problems come up often: the pedals move too much, the screen feels too far away, the chair rolls back under braking, the wheelbase is too strong for the frame, or the rig takes up more space than expected.
That's why a good sim racing setup needs to be planned as one complete system, not a random collection of parts.
Before choosing hardware, start with how you'll drive. A casual console racer doesn't need the same sim racing setup as a PC racer running long GT sessions with load cell pedals and triple screens.
For PlayStation and Xbox users, compatibility is the first filter. Some wheelbases only work on PC, some work across console and PC, and others need a specific wheel rim or licensed base to run on your chosen platform. Check this before looking at torque ratings, pedal types, or cockpit options.
For PC users, there are more upgrade paths. You can usually add stronger wheelbases, button boxes, handbrakes, shifters, telemetry tools, triple screens, and motion gear with fewer platform limits. The trade-off is that setup time, cable routing, software profiles, and calibration can take more work.
Budget should also cover the cockpit, not just the wheel and pedals. In our testing, many first-time buyers put most of their money into the wheelbase, then mount it to a frame that moves too much. A balanced sim racing setup usually feels better than a powerful wheelbase on a weak frame.
If you're still comparing the basics, start with a full racing simulator setup overview before locking in your hardware list.
The wheel and pedals are the main control points in any sim racing setup. They shape how the car feels when you're turning, braking, catching slides, or shifting gears.
Gear-driven wheels are usually the easiest entry point. They're affordable, simple to run, and a good match for casual racing. During testing, they tend to feel more mechanical through the wheel, and the feedback can be less detailed than stronger systems. They're still a solid starting point when space and budget are tight.
Belt-driven wheels feel smoother and quieter than gear-driven options. They're a good middle ground for drivers who want a more refined feel without jumping straight to direct drive. The main limit is response. You don't get the same instant detail through the wheel that a direct drive base can deliver.
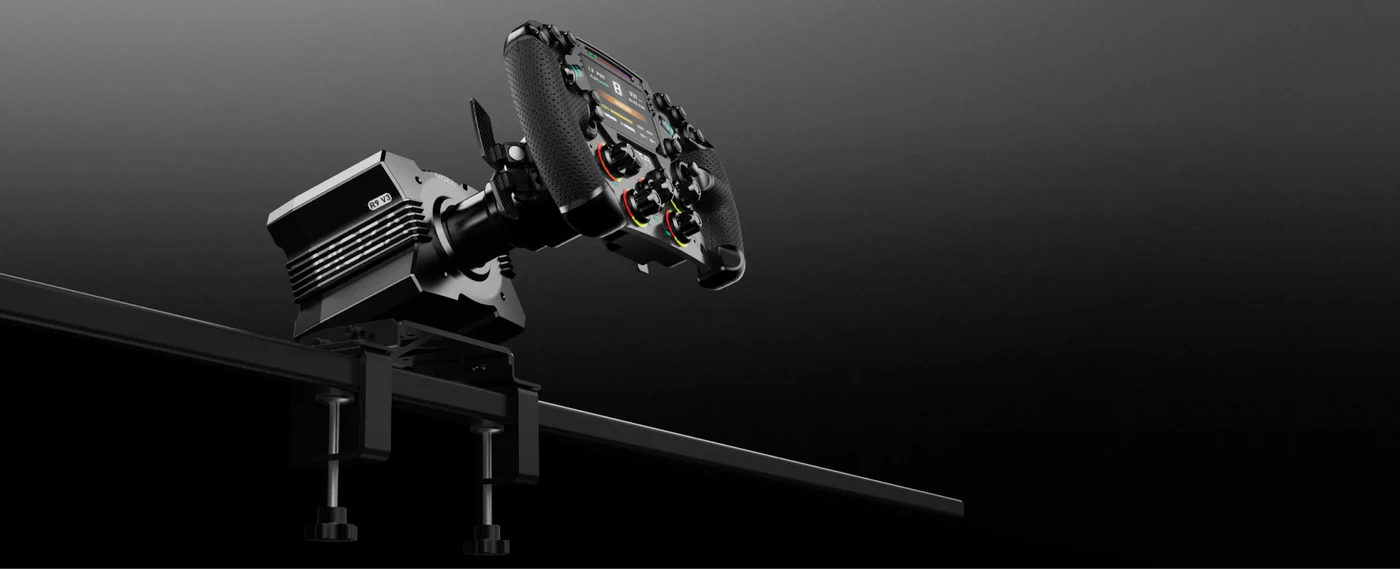
Direct drive wheelbases give the clearest steering feel. Because the wheel is driven directly by the motor, you can feel more detail from kerbs, slides, understeer, and steering load. The key lesson from our showroom testing is simple: a direct drive base needs a rigid cockpit. Put a powerful base on a light frame and the movement in the rig can dull the feedback you're paying for.
Pedals can make an even bigger difference than many buyers expect. Basic pedals are fine for starting out, but load cell pedals give a firmer brake feel because they read pressure rather than simple travel. In a well-mounted sim racing setup, that makes braking more repeatable because your leg learns pressure more easily than pedal distance.
Shifters and handbrakes depend on what you drive. An H-pattern shifter is better for classic cars and road cars. A sequential shifter suits rally, touring cars, and race cars that use forward-back shifting. A handbrake is mainly useful for rally, drifting, and casual sliding sessions.
Your cockpit is the foundation of your sim racing setup. If the frame moves, everything else feels worse. The wheel deck can shake, the pedals can flex, and your seating position can shift under braking.
Wheel stands are useful for small rooms and shared spaces. They're easier to move and store, but they're not the best match for heavy braking or high-torque wheelbases. If you're using a desk chair, the chair can also roll back when you press the brake. That becomes annoying fast.
Foldable cockpits give you a more consistent seating position than a desk setup. They're a good choice when space is tight, but they still have limits with stronger gear. If you plan to add load cell pedals or a more powerful base later, check the frame's strength before buying.
Tubular cockpits are a better fit for regular racing. They hold the wheel, pedals, and seat in fixed positions, so the sim racing setup feels more consistent from session to session. They're also easier to live with than some aluminium rigs because the frame is usually cleaner and simpler.
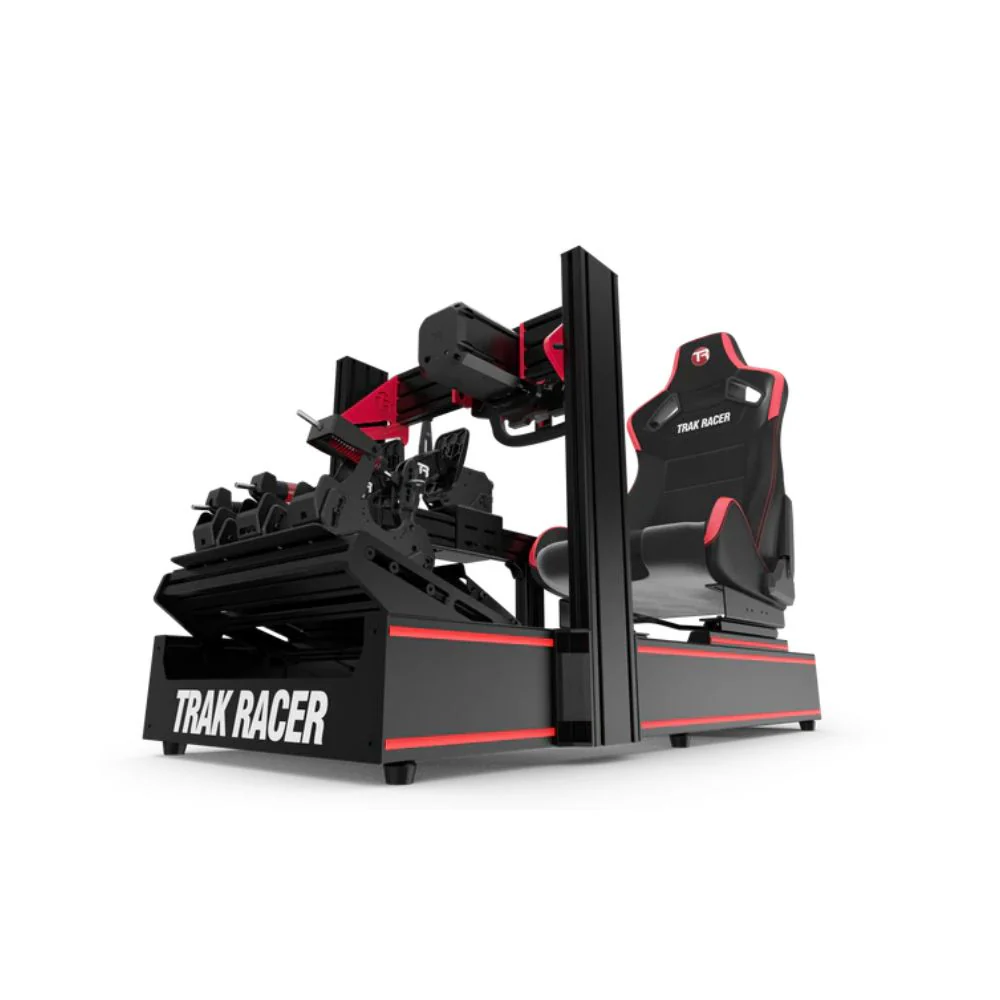
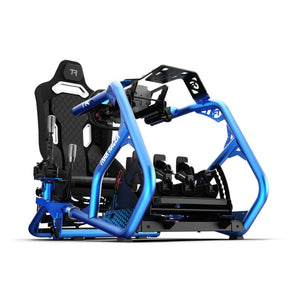
Aluminium profile cockpits give the most adjustment and the best long-term upgrade path. They're heavier, stronger, and easier to customise with monitor mounts, shifter plates, handbrake mounts, pedal changes, and motion add-ons. If you're planning a premium sim racing setup, this is usually the frame style to consider first.
A cockpit doesn't need to be expensive to work well, but it does need to match the hardware. A beginner wheel can run on a lighter frame. A direct drive wheelbase and load cell pedals need something much stronger.
When we set up a cockpit for a customer test drive, we usually start with the pedals. Pedal position controls knee bend, braking comfort, and how much pressure the driver can apply without shifting in the seat.
For a good sim racing setup, your brake leg should be able to press firmly without locking your knee. If the pedals are too far away, you'll stretch under braking. If they're too close, your knees can sit too high and fatigue builds faster.
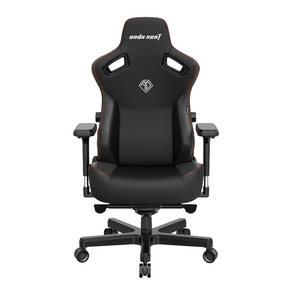
Once the pedals are right, move the seat. The seat should support your back and hips through longer sessions. A GT-style position is more upright, while an F1-style position is lower and more reclined. Pick the style based on the cars you drive most, not just how the cockpit looks.
The wheel should then be brought close enough that your elbows stay slightly bent when you hold the rim. If the wheel is too far away, your shoulders work too hard. If it's too close, steering feels cramped.
Small adjustments can change the whole feel of a sim racing setup. Seat sliders, pedal angle adjustment, wheel height, and shifter position are worth checking before your first long session.
Your display can change how natural a sim racing setup feels. A good screen position makes it easier to judge corners, apexes, braking points, and cars around you.
A single monitor is the simplest option. It's easy to run, easy to place, and a good fit for smaller rooms. A 32-inch screen or larger can work well when it's positioned close enough to the wheelbase and set at the right height.
An ultrawide monitor gives more side vision without the setup work of three screens. It's a cleaner option for a mixed-use room and needs fewer cables than a triple-screen layout.
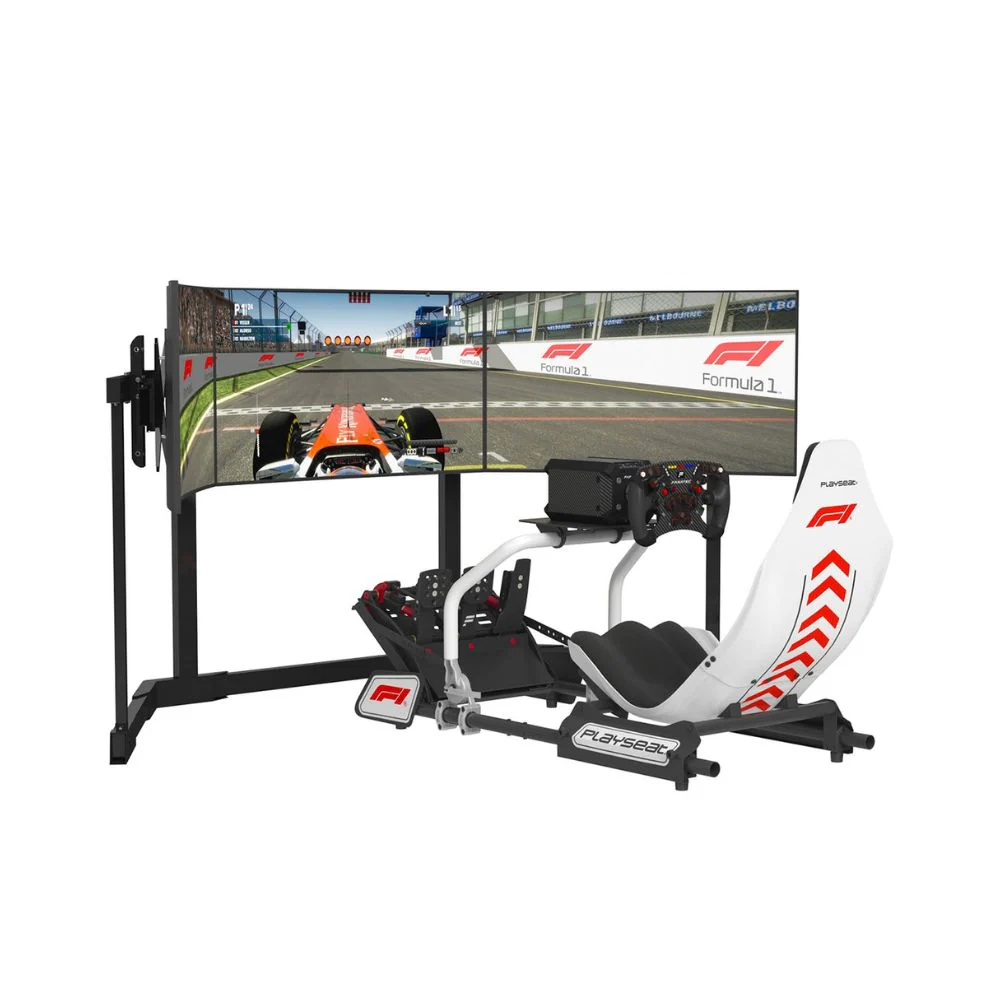
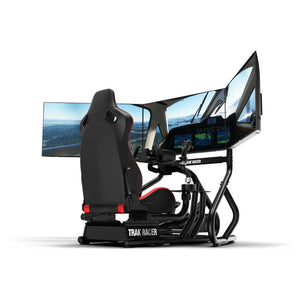
Triple monitors give the best side visibility for many racers. They make it easier to spot cars beside you and judge corner exits. The trade-off is space. You need enough width, a stable stand, and careful alignment. In our testing, triple screens feel best when the centre screen is close to the wheelbase and the side screens wrap around the cockpit at a natural angle.
VR gives the strongest in-car feel for drivers who enjoy it. You can look through corners, glance at mirrors, and feel more present inside the cockpit. The main downsides are headset comfort, PC requirements, heat, and motion sickness for some users.
For display planning, check sim racing monitor options and triple monitor stand layouts before setting up your room.
Audio is easy to overlook, but it adds a lot to a sim racing setup. Engine note, tyre scrub, kerb strikes, and gear changes all give useful feedback while you drive.
Headsets are great when you need clear sound, voice chat, and less room noise. Speakers feel more open and natural, but they need the right room placement and volume control. For late-night racing, a headset is usually the easier choice.
Bass shakers and tactile transducers add vibration through the seat or frame. They can make kerbs, gear shifts, engine revs, and track texture feel more alive without needing a full motion system. They're also a good middle step before moving into motion.
Haptic pedals can also add feedback through braking or traction cues, depending on the software and hardware used. They're not essential for every sim racing setup, but they're worth considering once the cockpit, wheel, pedals, and screen are already sorted.
A sim racing setup can have great hardware and still feel wrong if it isn't calibrated properly. Calibration should be done before chasing lap times.
Start with the wheelbase. Confirm the firmware is current, set the correct platform mode, centre the wheel, and check the steering rotation. Many cars feel better when the in-game steering angle matches the wheelbase settings.
Next, check the pedals. Set the minimum and maximum input for throttle, brake, and clutch. For load cell pedals, adjust brake force so you can reach full braking pressure without straining. If the brake is too soft, it can be hard to stay consistent. If it's too firm, fatigue can build quickly.
Force feedback needs care too. If it's too high, the wheel can clip and lose detail. If it's too low, the car can feel numb. Start with a stable baseline, then adjust by car and game.
Control mapping should be done before racing. Map pit limiter, look left and right, brake bias, traction control, wipers, lights, and menu controls. Save separate profiles for GT, F1, rally, drifting, or truck driving if you change styles often.
A well-calibrated sim racing setup feels predictable. That's what you want before adding faster hardware or more complex software.
A home sim racing setup needs enough space around the cockpit, not just enough room for the frame itself. You need to get in and out easily, adjust the seat, reach cables, and move around the display stand.
For a compact wheel stand, measure floor space, chair movement, pedal position, and screen distance. If the chair rolls back under braking, use locking caster wheels or a fixed seat solution.
For a fixed cockpit, measure the full footprint with the seat pushed back. Leave space behind the rig if multiple drivers use it. Also check doorways, stairs, and tight corners before delivery. Some frames are easier to move in sections, while others take more planning.
For triple monitors, measure total screen width, stand width, cockpit clearance, and side-screen angle. Don't forget the depth of the monitor arms and the space needed behind the screens.
For motion-ready frames, check actuator clearance, cable slack, floor strength, and surrounding space. Motion gear can shift the cockpit, so cables need enough length and safe routing.
Good cable management also keeps the sim racing setup safer and easier to maintain. Route cables away from pedals, bundle them with velcro, and label USB and power leads if you have several accessories.
Upgrades should solve a real limitation. Buying more hardware doesn't always make a sim racing setup better if the base layout isn't stable.
Load cell pedals are worth adding when you want more consistent braking and your cockpit can handle firmer pedal pressure. If your frame moves under braking, fix that first.
A direct drive wheelbase is worth adding when you want clearer force feedback and you have a strong enough cockpit. If you're still clamped to a light desk, the wheelbase won't feel as good as it should.
Triple monitors are worth adding when you want better side vision and you have enough room for the full width. If space is tight, an ultrawide screen can be easier to live with.
Motion systems are worth considering when the rest of the sim racing setup is already stable. Motion adds cost, weight, wiring, and setup time, so it should come after the cockpit, controls, displays, and PC or console are sorted.
Shifters, handbrakes, button boxes, bass shakers, and haptic upgrades are useful once you know which type of racing you'll spend the most time doing.
For more advanced builds, compare motion simulator options with your cockpit choice before adding actuators or haptic hardware.
For a first home sim racing setup, start with a compatible wheel and pedal bundle, a stable wheel stand or foldable cockpit, and a single monitor or TV placed at a comfortable height. This keeps the cost lower while giving you a cleaner driving position than a desk-only layout.
For a regular console racing setup, choose a fixed cockpit, a console-compatible wheelbase, better pedals, and a tidy screen position. The fixed seat and pedal position make each session feel more consistent.
For a PC-based sim racing setup, plan the cockpit first. A rigid frame gives you more room to add a direct drive wheelbase, load cell pedals, a shifter, a handbrake, button boxes, telemetry tools, and triple screens.
For a premium sim racing setup, start with an aluminium profile cockpit, direct drive wheelbase, load cell pedals, triple monitors or VR, and a PC that can run your chosen software smoothly. Add haptics or motion once the core hardware is working properly.
For shared family use, focus on adjustability. Seat sliders, adjustable pedals, wheel height changes, and easy access make a big difference when more than one person uses the same sim racing setup.
The most common mistake is spending too much on the wheelbase and not enough on the cockpit. A powerful wheelbase on a weak frame can feel worse than a balanced setup with a stronger mounting platform.
Another common issue is poor pedal mounting. If the pedals lift, slide, or flex under braking, it becomes harder to build muscle memory. The brake needs to feel repeatable every time you press it.
Screen distance is also often overlooked. If the screen is too far away, the car can feel disconnected from the cockpit. If it's too high or too low, your view can feel unnatural during longer sessions.
Cable clutter creates problems too. Loose cables near pedals, USB hubs, or moving cockpit parts can cause disconnections and safety issues.
The best sim racing setup is the one that matches your space, platform, budget, and upgrade plans from the start.
A well-planned sim racing setup should feel stable, comfortable, and easy to use. The cockpit should hold firm, the pedals should stay planted, the wheel should feel natural, and the display should line up with your driving position.
After testing different hardware combinations at our Dandenong showroom, we've found that balance is the key. You don't need to buy everything at once. Start with the right foundation, then upgrade the parts that improve your driving experience most.
If you're building your first sim racing setup, focus on compatibility, cockpit strength, pedal feel, screen position, and adjustability. Get those right and every upgrade after that becomes easier to choose.