

Ultimate Guide To Setting Up A Playseat Simulator
|
|
Choosing the right Playseat simulator is easier once you've sat in one, mounted hardware to it, adjusted the pedals, and checked how it feels under braking. At Gamer Gear Direct, we've tested Playseat cockpits with common racing gear in our Dandenong South showroom, including direct drive wheelbases, entry-level wheel and pedal sets, and F1-style driving positions.
This guide is built from that hands-on setup experience. We'll cover which Playseat simulator makes sense for different drivers, what to check before buying, how to build it cleanly, and how to adjust it for better comfort once you're racing at home.
We didn't treat this as a spec-sheet exercise. Our team has handled, assembled, adjusted, and tested Playseat models in showroom-style racing simulator setups. During testing, we looked at frame stability, wheel deck movement, pedal reach, seat angle, accessory mounting, cable routing, and how easy it is to get a comfortable driving position after the cockpit is built.
We also looked at the questions customers ask before buying a Playseat simulator. The most common ones are simple but important: will it fit in my room, will my wheelbase mount to it, will the pedals move under braking, and can more than one driver use it without rebuilding the whole setup?
For testing, we focused on real home-use conditions. That means hard floors, limited space around the cockpit, common console and PC setups, and racing sessions long enough to show where comfort issues start to appear. A Playseat simulator can look excellent in product photos, but the real test is how it feels once the wheelbase is pulling, the brake pedal is loaded, and the driver has been seated for more than a quick five-minute run.
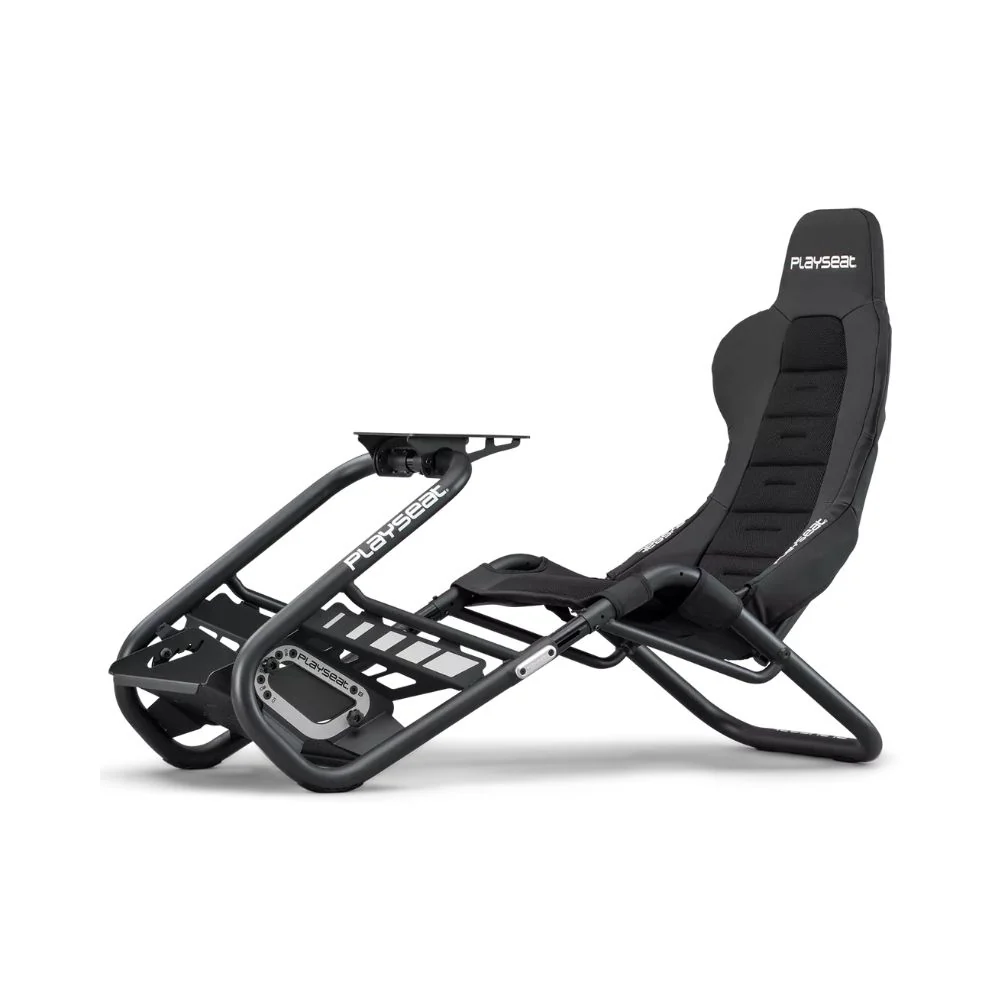
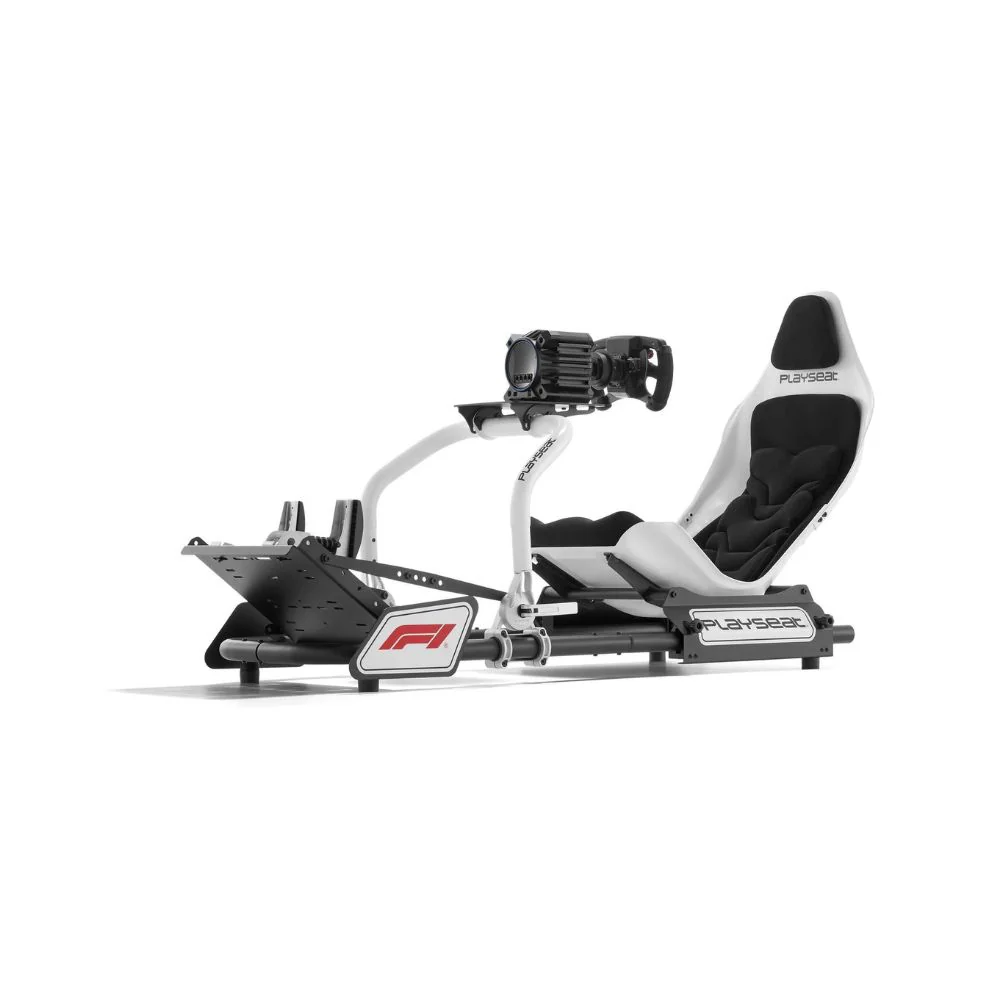
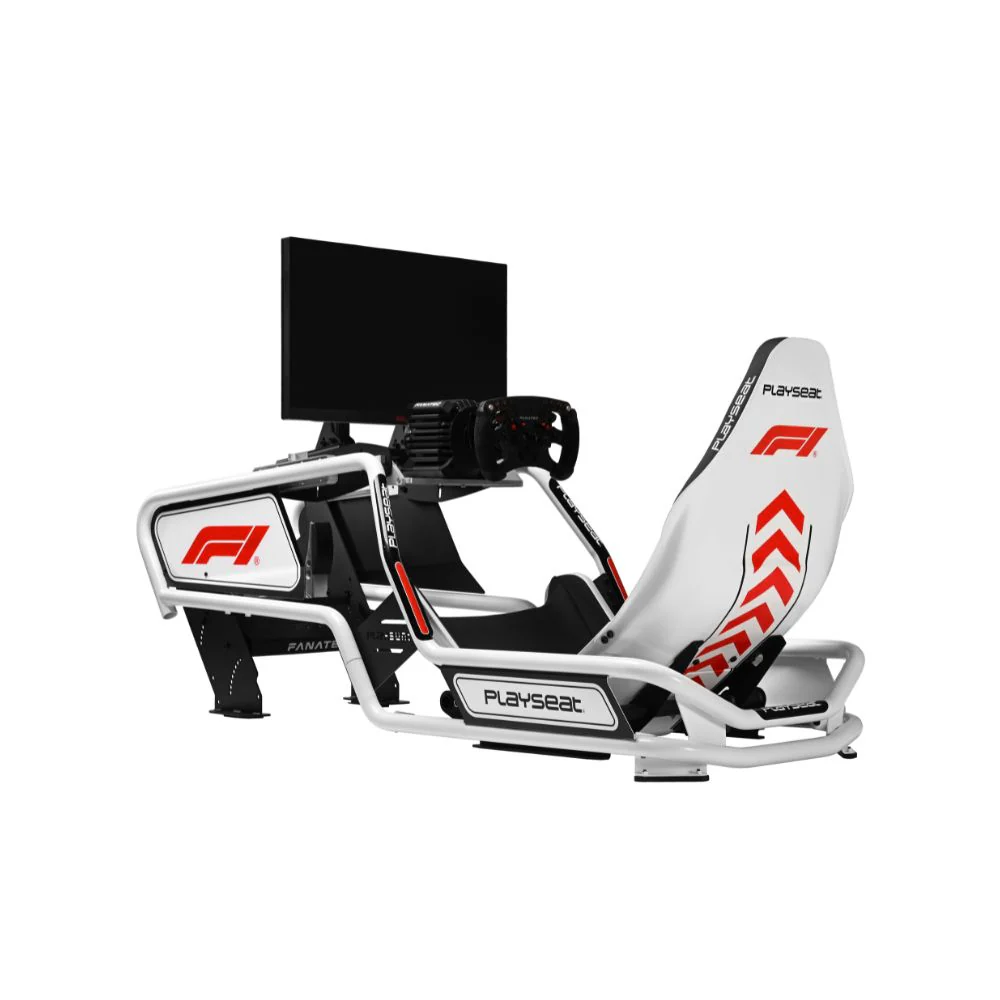
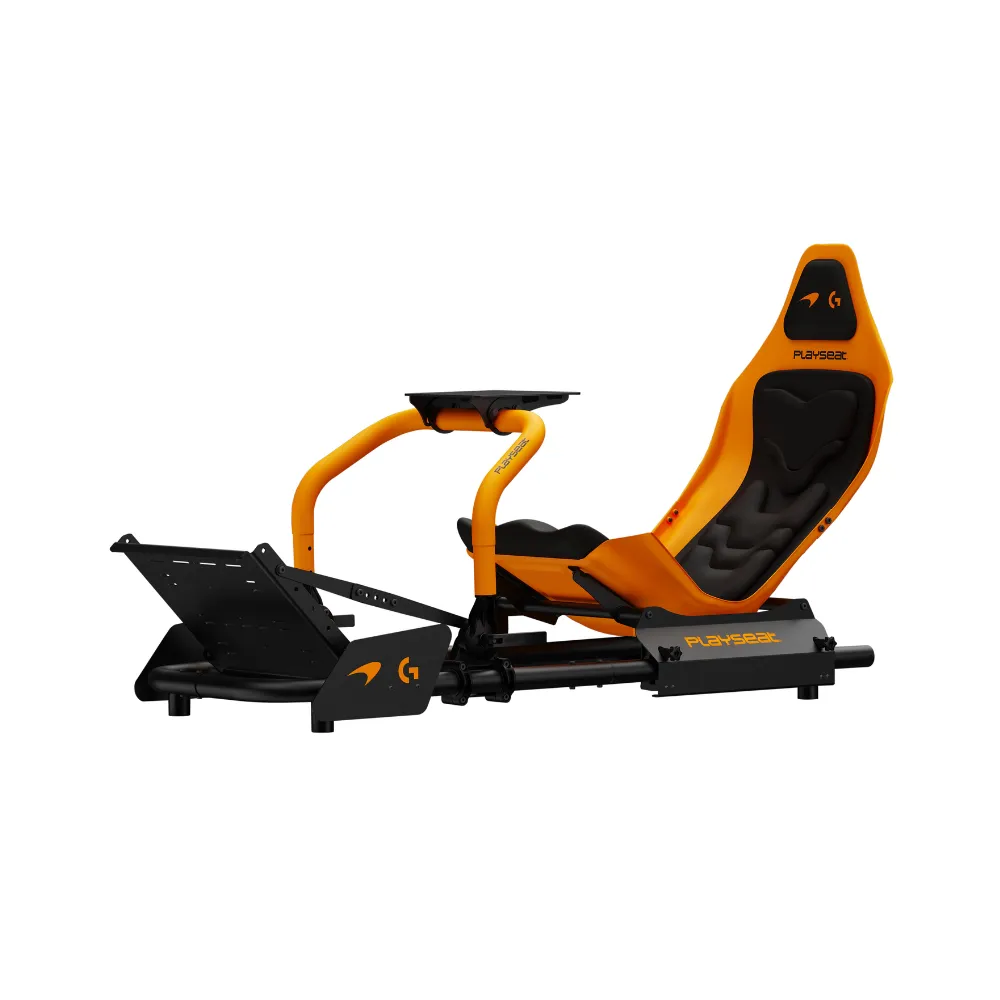
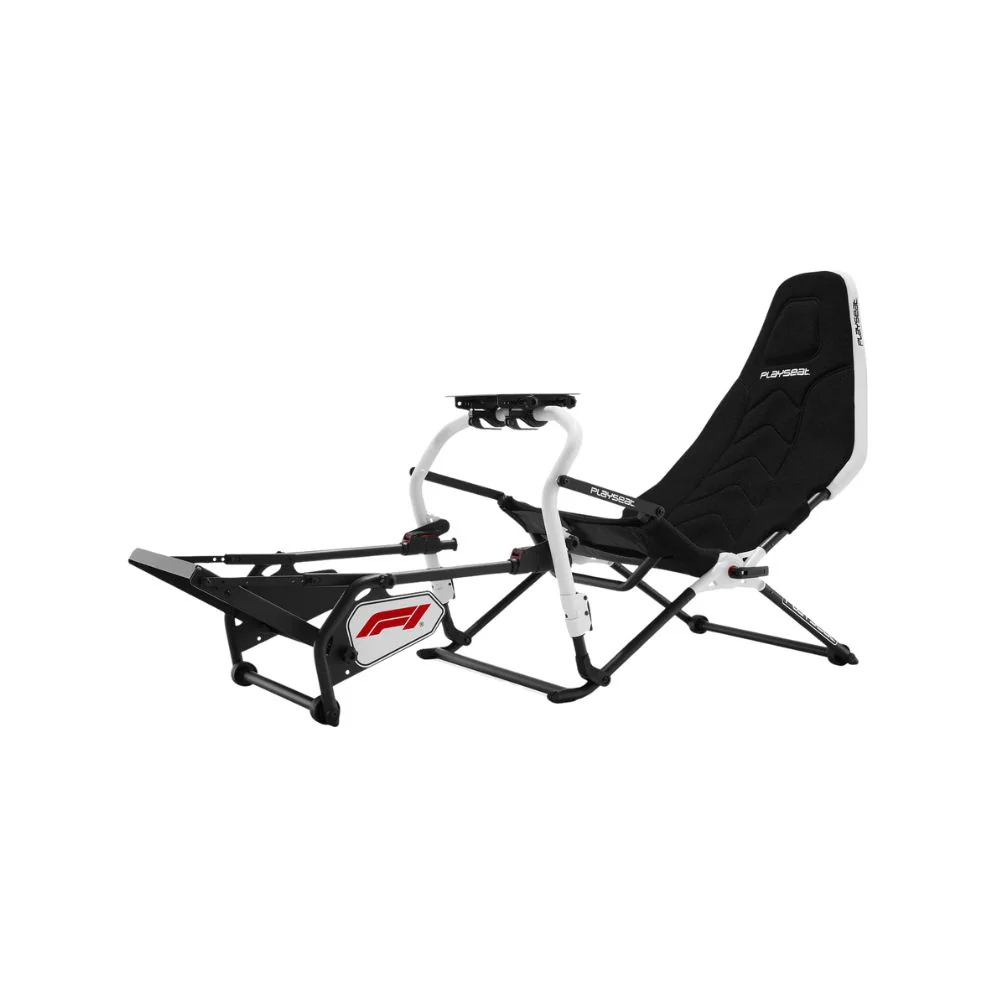
The biggest strength of a Playseat simulator is that the range covers very different driving styles. The Trophy is compact and clean, the Formula Intelligence is closer to a dedicated F1-style cockpit, the Sensation PRO is built around a fuller cockpit layout, and the Formula Instinct gives drivers a lower Formula-style position without the same heavy footprint as the Formula Intelligence.
The main thing we'd check before recommending any Playseat simulator is the hardware going onto it. A Logitech or Thrustmaster wheel and pedal set is a very different load compared with a high-torque direct drive wheelbase and a stiff load cell brake. If you're planning to run heavier hardware, cockpit stiffness and pedal plate stability should sit ahead of looks.
During showroom testing, seating position also made a big difference. Many drivers set the wheel too high, then push the pedals too far forward to compensate. A better starting point is to set pedal reach first, then bring the wheelbase into a position where your elbows stay slightly bent through a full steering rotation.
For more advice on matching wheels and pedals to your cockpit, read our sim racing wheel and pedal setup guide.
Before choosing a Playseat simulator, start with your racing style. GT and touring car drivers usually want a more upright position, while F1 fans often prefer a lower reclined seat angle with raised pedals. Rally and drift drivers also need to think about shifter and handbrake placement, since not every Playseat model is built for that kind of accessory layout.
Space is the next filter. A Playseat simulator needs enough room for the cockpit, the driver getting in and out, pedal movement, and cable routing. If you're setting up in a spare bedroom, office, or lounge room, measure the full footprint before ordering. Don't just measure the seat frame. Include monitor distance, power access, and room behind the cockpit if the seat position needs to move.
Official Playseat specs also show how much the models differ. The Playseat Trophy is listed at 140 x 58 x 100 cm and 16 kg, while the Formula Intelligence is listed at 168 x 61.5 x 73.5 cm and 50 kg. The Formula Instinct is listed at 150 x 87 x 60 cm and 23 kg, with a higher recommended maximum driver weight than the Trophy or Formula Intelligence.
Playseat Model |
Best Use Case |
Key Setup Note |
|---|---|---|
Playseat Trophy |
Compact home racing setup |
A good fit for drivers who want a lighter frame without moving to a full aluminium profile rig |
Playseat Formula Intelligence |
Dedicated F1-style racing |
Best for drivers who want a low Formula seating position and integrated monitor support |
Playseat Sensation PRO |
Immersive cockpit layout |
Best for a more complete home racing area with screen placement built into the setup |
Playseat Formula Instinct |
Formula-style racing in less space |
Not the model we'd choose for shifter-heavy rally or drift setups |
For broader setup planning, see our racing simulator setup guide.
A Playseat simulator can be the right choice for a lot of home racers, but the best model depends on how you'll actually drive. We always start with four questions: what wheelbase are you using, what pedals are you using, how much space do you have, and who else will be driving it?
If you're using an entry-level wheel and pedal set, comfort and footprint may be the main priorities. If you're using a direct drive wheelbase, frame rigidity becomes more important. If you're using a stiff brake pedal, the pedal tray needs to feel secure enough that you're not changing your braking technique to protect the cockpit.
Driver size also needs to be checked early. Several Playseat models list a recommended driver height range from 120 cm to 220 cm, but that doesn't mean every driver in that range will prefer the same seating position. Taller drivers may need more pedal distance, while shorter drivers may need the wheelbase closer to the body. In a shared home setup, easy adjustment is worth considering before price.
If you're unsure which cockpit style fits your hardware, our direct drive racing simulator guide covers the main differences between lighter home cockpits and heavier racing frames.
When your Playseat simulator arrives, lay every part out before assembly. Check the frame pieces, mounting hardware, seat sections, and manual before tightening anything. We recommend building on a rug, foam mat, or clean cardboard so the frame doesn't get marked during assembly.
Start with the main frame, then move to the seat, wheel deck, and pedal mount. Don't tighten every bolt fully on the first pass. Leave enough movement to align the frame, check that the cockpit is level, then tighten each connection once the main structure is square.
The most common setup issue we see is over-tightening one section too early. That can make the final mounting points harder to line up. It's better to work slowly, check alignment, then tighten the frame in stages. Once the cockpit is built, mount the wheelbase and pedals before adjusting the final seating position.
After the hardware is fitted, sit in the Playseat simulator before plugging everything in. Press the brake pedal firmly, turn the wheel through its full range, and check if your knees, wrists, shoulders, or lower back feel strained. Small position changes at this stage can make the cockpit much better over longer sessions.
Most buyers choose a Playseat simulator because they want a cleaner and more stable setup than a desk-mounted wheel. The difference is clear once the wheelbase and pedals are properly mounted. You get a fixed driving position, cleaner cable routing, and less movement during braking and steering.
For wheelbases, check the mounting pattern before assembly. Many Playseat cockpits use adjustable plates and pre-drilled holes for major racing hardware brands, but it's still worth checking your exact wheelbase and pedal set. Direct drive wheelbases also need more care because the torque load can expose movement that won't show up with lighter gear.
Pedals need the same attention. If you're using load cell pedals, press the brake at the same pressure you'd use while racing. If the pedal plate shifts, flexes, or encourages you to reduce brake pressure, the setup needs another adjustment. Your Playseat simulator should support your driving technique, not force you to drive around movement in the rig.
Shifters and handbrakes depend on the model. GT, rally, drift, and truck sim drivers should check accessory mounting before buying. Formula-focused models are built around wheel and pedal control, so they're not always the best fit for drivers who need a handbrake beside the seat.
A Playseat simulator feels best when the pedals, wheelbase, and seat all work together. Start with the pedals. Your leg should stay slightly bent at full brake pressure, and your hips shouldn't lift when you press the pedal firmly. From there, set the wheel height so your shoulders stay relaxed and your elbows keep a slight bend.
If you're setting up for GT racing, use a more upright seat angle and bring the wheel closer to chest height. For Formula racing, a lower reclined position makes more sense, with the pedals further forward and higher relative to the seat. Don't copy someone else's setup exactly, because small body-size differences can change how the cockpit feels.
In our showroom, the best results usually come from small changes. Move the seat, test the brake, turn the wheel, then adjust again. If your wrists bend too much, the wheel is probably too close or too high. If your lower back feels loaded after a short drive, check the seat angle and pedal distance before adding cushions.
A Playseat simulator needs a clean space around it. Hard floors can make a cockpit easier to move during setup, but they can also let the frame slide under braking. A floor mat or rubber-backed rug can protect the floor and add grip, especially if you're running pedals with a heavier brake feel.
Cable management should be done after the driving position is set. Don't tie cables tightly before you know where the wheelbase, pedals, and shifter will stay. Leave enough slack for small adjustments, then route the cables along the frame so they're away from your feet and moving parts.
Power access also deserves attention. Keep the power board close enough for the wheelbase, screen, console, or PC, but don't place it where your feet can hit it during racing. If you're running a monitor stand, speakers, or LED lighting, plan the full setup before locking the cockpit into its final spot.
A Playseat simulator doesn't need complicated maintenance, but it does need regular checks. After the first few sessions, re-check the main bolts, pedal mount, and wheel deck. Hardware can settle after use, especially if you're braking hard or running a direct drive wheelbase.
For fabric and seat surfaces, use light cleaning rather than harsh products. Vacuum dust, wipe marks with a damp cloth, and avoid soaking the material. If you're storing the cockpit in a shared room, keep drinks and loose items away from the frame so nothing gets caught around the pedals.
The best habit is a quick monthly check. Look for loose bolts, cable rub, pedal movement, and any new creaks from the frame. A Playseat simulator should feel consistent every time you sit down, so any change in movement is worth fixing early.
A Playseat simulator is a great fit if you want a clean home racing cockpit without jumping straight to a heavy aluminium profile frame. It's especially useful for console racers, F1 fans, and drivers who want a fixed racing position that's easier to use than a wheel clamped to a desk.
We'd recommend the Trophy for drivers who want a lighter cockpit with a compact footprint. We'd look at the Formula Intelligence for drivers building a more dedicated F1-style setup. We'd consider the Sensation PRO for a more complete cockpit feel, and the Formula Instinct for drivers who want Formula-style positioning without the same large-frame commitment.
The key is matching the cockpit to your hardware. A Playseat simulator should suit your wheelbase, pedals, room size, and driving style from the start. If you choose based only on looks, you may miss the setup details that shape comfort and performance once the racing starts.