


Racing Simulator Setups: Expert Tips From Our Showroom Testing
|
|
A racing simulator setup can look simple in a product photo, but the real test starts once the wheelbase, pedals, cockpit, screen, seat, and software all need to work together. At Gamer Gear Direct, we’ve tested a wide range of sim racing hardware through our Dandenong South showroom, customer demos, and internal setup checks, so we’ve seen where a build feels stable and where it starts to frustrate the driver.
This guide is based on hands-on testing across direct drive wheelbases, load cell pedals, aluminium profile cockpits, monitor stands, shifters, handbrakes, and motion-ready rigs. We’ve also seen the common mistakes customers make when building a racing simulator setup for the first time, from choosing the cockpit too late to placing the monitor too far away from the wheel.
If you’re planning your own racing simulator setup, start with the full system instead of thinking about each product on its own. The cockpit controls the seating position. The seating position affects pedal feel. The monitor position changes your field of view. The software calibration decides how natural the wheel and pedals feel once you’re on track.
Our recommendations come from showroom testing, customer build experience, and product checks across racing hardware that’s used for home driving, sim-cade racing, GT racing, rally, drifting, and more advanced simulator builds.
When we assess a racing simulator setup, we look at six areas: cockpit rigidity, wheelbase mounting, pedal stability, driver comfort, display position, and calibration. Specs are useful, but they don’t tell the full story. A wheelbase can have impressive torque on paper, yet feel poor if it’s mounted to a weak frame. A pedal set can have a load cell brake, yet feel inconsistent if the seat distance and pedal angle are wrong.
We also check how easy the rig is to adjust. Many customers share a racing simulator setup with family or friends, so seat position, pedal reach, wheel angle, and monitor height need to be easy enough to change without rebuilding the whole cockpit.
The first decision is the platform. A PC gives you the widest range of simulator software, hardware support, graphics settings, mods, telemetry tools, and advanced accessories. If you want the most flexible racing simulator setup, PC is usually the best base.
A console setup is simpler. PlayStation and Xbox systems are easier to run in a living room or spare room, and they suit drivers who want to plug in a compatible wheel and start racing without managing drivers, firmware, graphics settings, or Windows devices. The trade-off is hardware compatibility. Some wheels, pedals, shifters, handbrakes, and button boxes only work on PC, while others need a specific console-licensed wheelbase.
In our showroom testing, the best starting point is always compatibility. Before buying the wheel, pedals, or cockpit, check the games you want to play and the platform you’ll use. A racing simulator setup feels far better when the hardware, software, and platform are chosen together from the start.
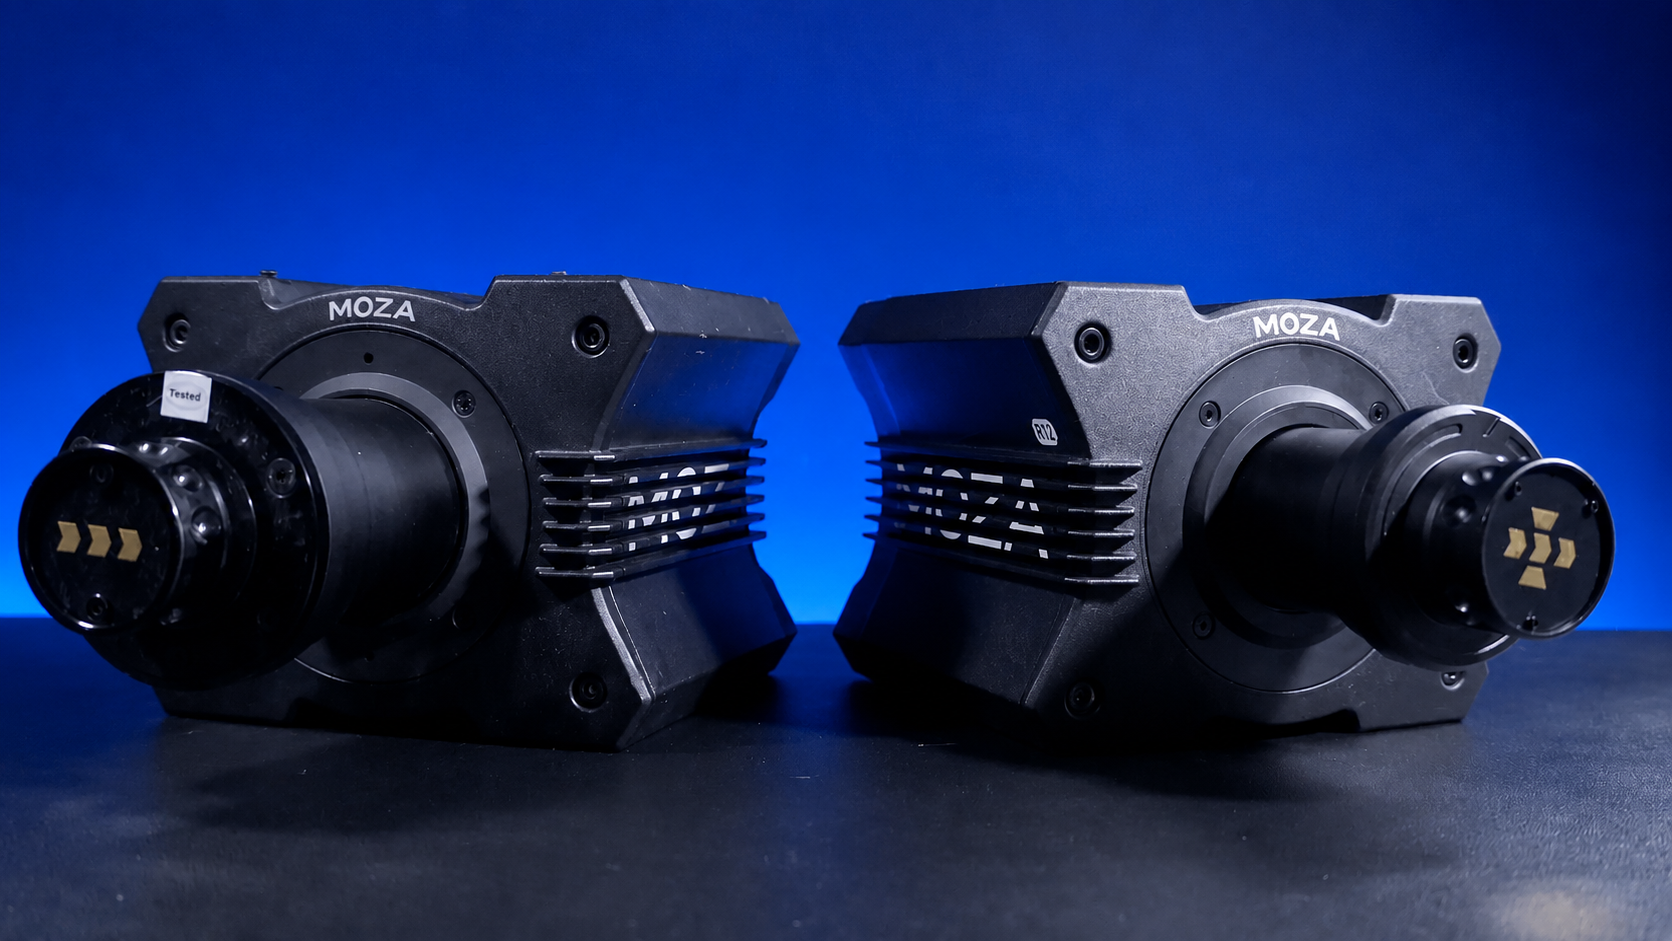
The wheelbase is one of the most important parts of a racing simulator setup because it controls what you feel through the steering wheel. Entry-level gear-driven and belt-driven wheels can still be a good starting point, especially for casual racing and smaller spaces. They’re usually lighter, easier to mount, and more affordable.
Direct drive wheelbases deliver more detail because the motor is connected directly to the steering shaft. In real use, that can mean cleaner feedback when the car loads up through a corner, sharper correction when the rear steps out, and a stronger sense of grip loss over kerbs, bumps, and changes in road surface.
From our testing, direct drive works best when it’s mounted to a rigid cockpit. If you bolt a higher-torque base onto a light frame or desk, the movement in the mount can reduce the detail you were trying to gain. That’s why we recommend matching the wheelbase to the cockpit instead of buying the most powerful base first and solving the frame later.
Pedals can change the feel of a racing simulator setup more than many new drivers expect. A throttle pedal needs smooth travel, but the brake pedal has the biggest impact on consistency. Basic pedal sets often use position-based braking, while higher-end sets use load cell braking, which responds to pressure.
In our showroom testing, load cell pedals are easier to trust once they’re adjusted properly. The driver can brake by muscle memory instead of guessing how far the pedal has moved. That’s useful for trail braking, repeated braking zones, and longer sessions where consistency starts to separate a clean lap from a messy one.
The mistake we often see is placing the pedals too far away or too flat. If your legs are overextended, you’ll struggle to brake with control. If the pedal angle is wrong, your ankle and knee can fatigue early. A racing simulator setup should place the pedals where you can press the brake firmly without sliding in the seat or stretching through the hips.
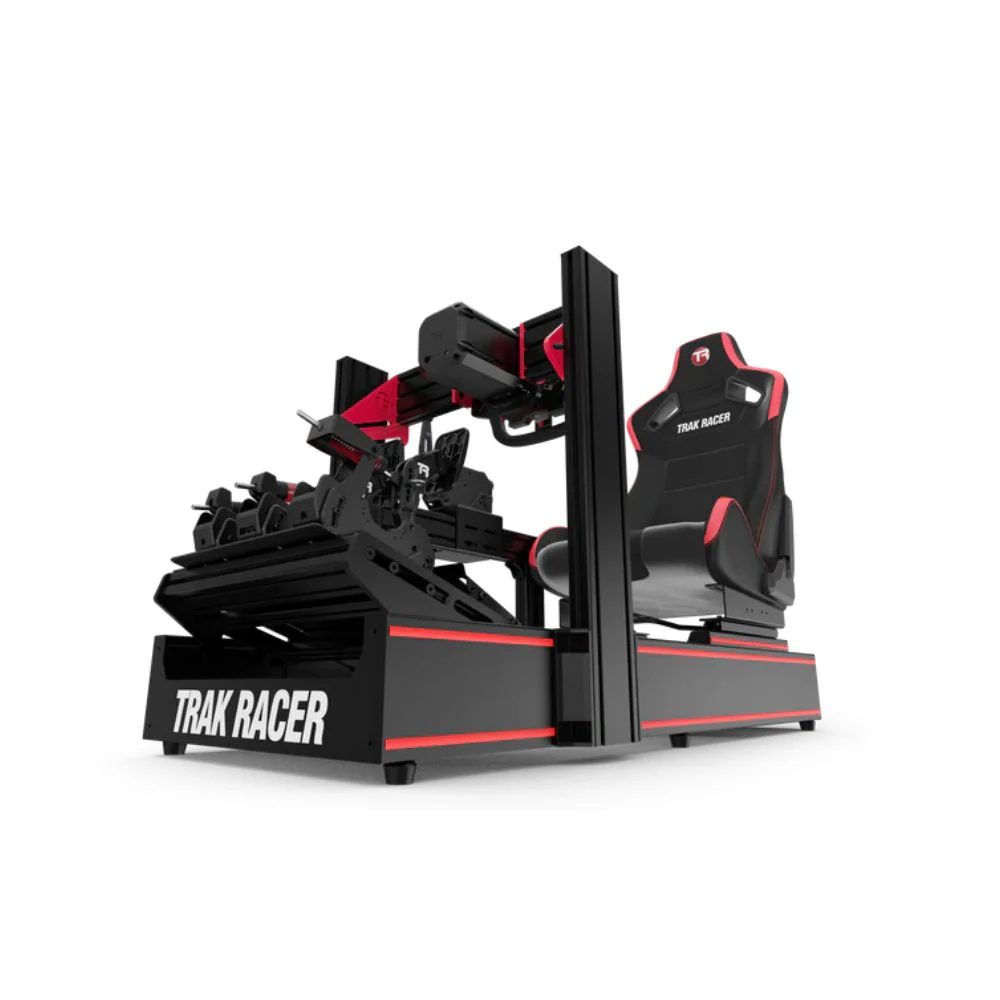
The cockpit is the part of a racing simulator setup that decides how stable everything feels. It holds the wheelbase, pedals, seat, shifter, handbrake, monitor mount, and sometimes motion equipment. If the cockpit flexes, every other component feels less precise.
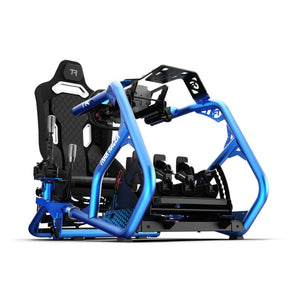
Aluminium profile cockpits are the most adjustable option and usually the best fit for direct drive wheelbases, load cell pedals, triple monitors, and motion-ready builds. Tubular cockpits can still work very well for many home setups, especially with mid-range wheelbases and standard accessories. Foldable rigs are best for smaller rooms, lighter hardware, and drivers who need to pack the setup away after use.
From our testing, the cockpit should be chosen earlier than most people think. Many customers start with the wheel and pedals, then discover their frame can’t hold the hardware properly. A racing simulator setup is easier to get right when the cockpit is selected around the wheelbase torque, pedal pressure, available space, and display layout.
A racing simulator setup should feel comfortable enough for long sessions, but it also needs to keep your inputs controlled. The seat, wheel, and pedals should place your body in a steady driving position so your arms, legs, and shoulders aren’t fighting the rig.
At the showroom, our usual adjustment order is seat first, pedals second, wheel third, monitor last. The driver should sit with the shoulders supported, arms slightly bent at the wheel, and legs bent enough to brake firmly without locking the knees. If the seat is too far back, braking becomes inconsistent. If the wheel is too high or too close, steering can feel awkward during quick corrections.
GT-style seating is usually more upright and familiar for most drivers. Formula-style seating is lower and more reclined, which can suit open-wheel racing fans, but it needs the right cockpit and pedal position to feel natural. The best racing simulator setup is the one that keeps your inputs repeatable across a full session.
Cable management doesn’t sound exciting, but it plays a big role in keeping a racing simulator setup reliable. Loose cables can get caught around pedals, pulled during seat adjustment, or unplugged during a race. A clean rig is also easier to service when you need to swap a wheel, move a pedal plate, or add new accessories.
We recommend routing cables along the cockpit frame with Velcro straps, cable clips, or trays. Leave enough slack near moving parts, especially seat sliders and adjustable pedal plates. Wheelbase, pedal, shifter, handbrake, display, and power cables should be separated enough to make troubleshooting simple.
Rig stability also needs regular checks. Direct drive feedback and heavy braking can loosen bolts over time. After a few sessions, check the wheel deck, pedal plate, seat rails, monitor stand, and accessory mounts. A stable racing simulator setup feels better, lasts longer, and keeps expensive hardware protected.
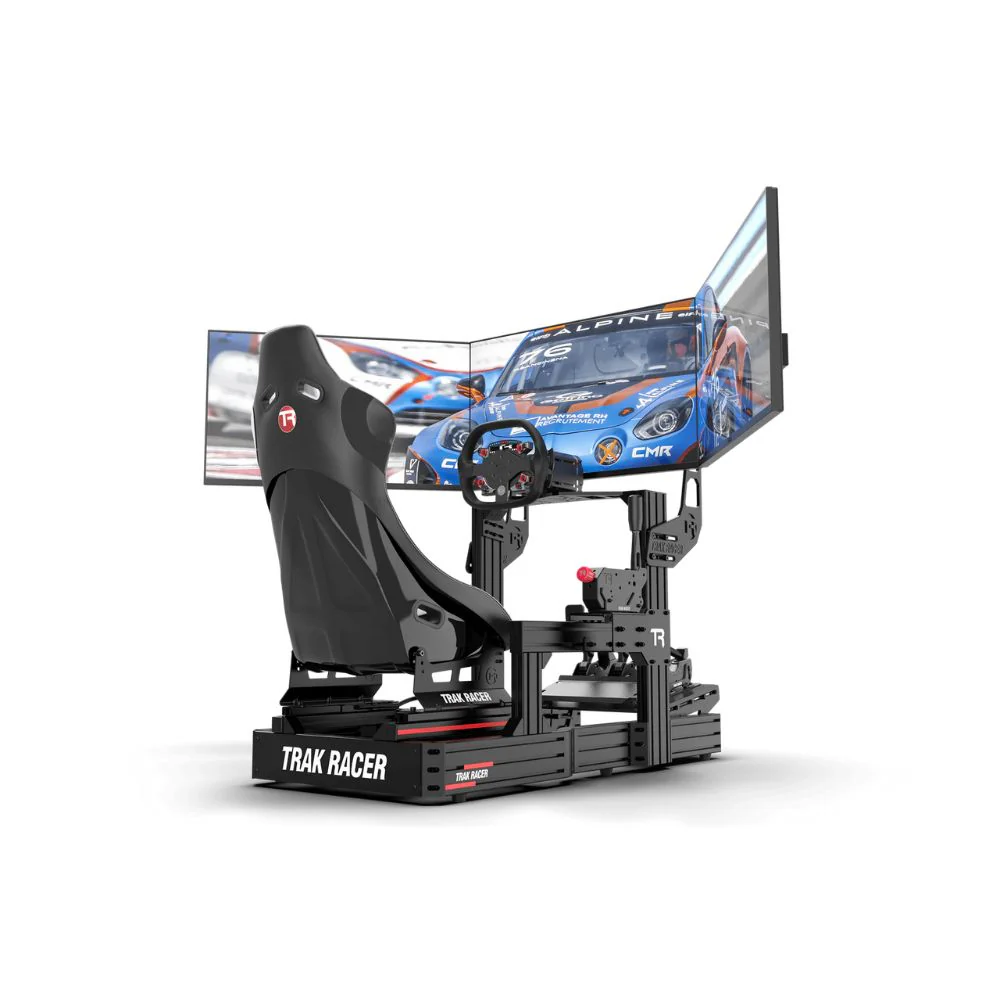
The display changes how connected you feel to the car. A single monitor is the simplest option and works well for smaller rooms, but placement is critical. If the screen is too far away, the racing simulator setup can feel disconnected from the cockpit.
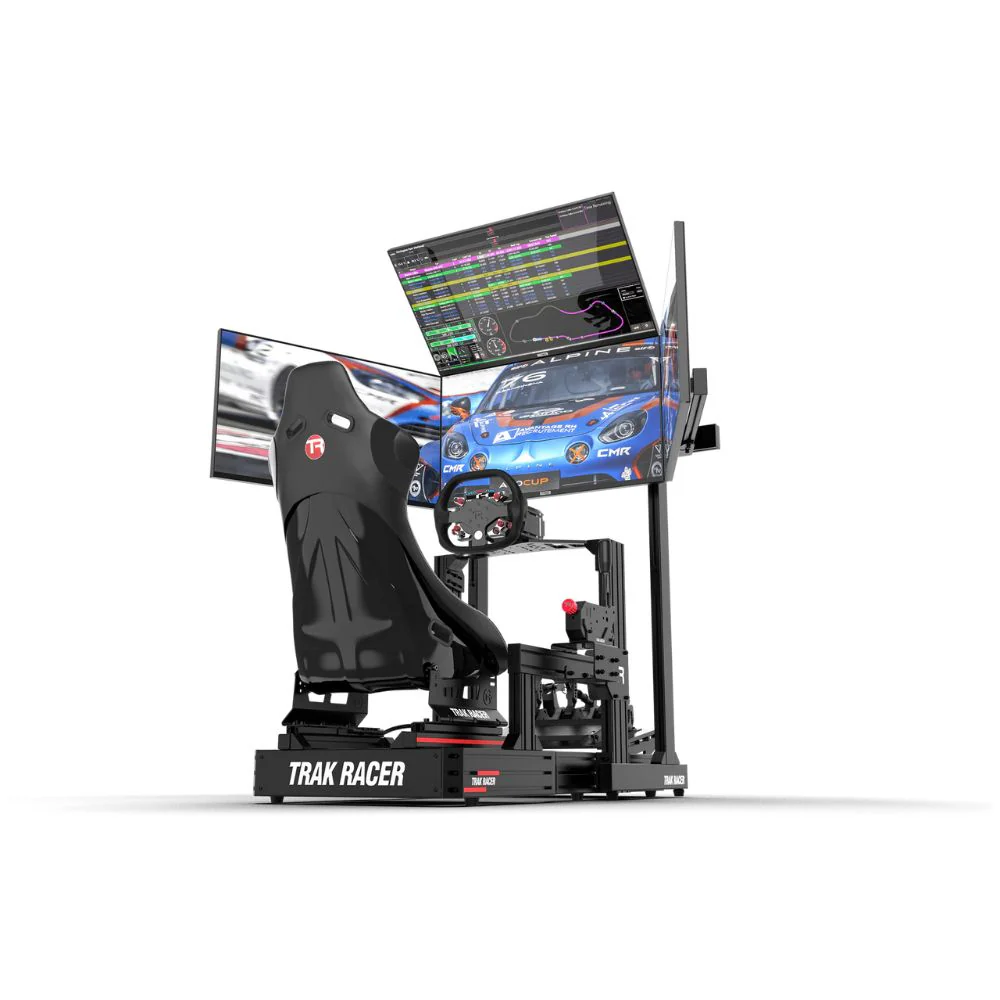
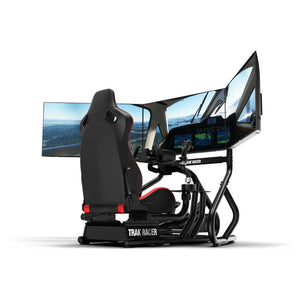
An ultrawide monitor gives more horizontal vision without bezel gaps. Triple monitors create the widest natural view and can make side-by-side racing easier, but they need careful alignment. The centre screen should sit directly in the driver’s line of sight, with the side screens angled evenly. Small differences in height, angle, or distance can make the view feel off.
VR can be immersive, but it’s not ideal for every driver. Headset comfort, heat, motion sensitivity, and PC performance all need to be considered. For many home users, a well-positioned monitor or triple-screen racing simulator setup is easier to live with across regular sessions.
Audio gives you more than engine noise. Good headphones or speakers let you hear tyre slip, kerb contact, rev changes, gear shifts, and cars around you. For many drivers, headphones are the easiest choice because they provide clear detail without filling the room with sound.
Speakers can work well in a dedicated simulator room, especially if they’re positioned around the cockpit. The goal is to create useful sound, not just loud sound. If the engine drowns out tyre feedback or spotter calls, the audio setup needs adjustment.
Haptic feedback can add another layer to a racing simulator setup. Bass shakers and pedal haptics can translate kerbs, ABS activation, road texture, and engine vibration into physical feedback. In our testing, haptics are often one of the most enjoyable upgrades after the cockpit, wheel, pedals, and display are already sorted.
Even good hardware can feel wrong if the software isn’t calibrated. Before testing any racing simulator setup, we check firmware updates, game settings, wheel rotation, pedal inputs, force feedback strength, and button mapping.
Wheel rotation should match the car or game profile. Pedals should register full throttle and full brake without dead zones or input spikes. Force feedback should be strong enough to communicate grip, but not so heavy that it clips, shakes the cockpit, or wears the driver out.
For load cell pedals, brake pressure should match the driver. A heavier brake can feel more realistic for some users, but it needs to suit the seating position and leg strength. If the brake is too stiff, the driver may start lifting from the seat or missing braking points. The goal is a racing simulator setup that feels predictable from lap one to the final stint.
The game you play should influence the hardware you buy. iRacing, Assetto Corsa Competizione, rFactor 2, Automobilista 2, Gran Turismo 7, Forza Motorsport, EA Sports WRC, and F1 titles all have different strengths, setup menus, and hardware behaviour.
If you’re on PC, you’ll usually have more control over wheel settings, telemetry tools, button boxes, and third-party accessories. If you’re on console, the racing simulator setup needs to be built around compatible hardware from the beginning. This is especially important for shifters, handbrakes, and wheel rims, because some accessories only work when connected through a supported wheelbase.
A good setup starts with the games you’ll actually play. A rally-focused driver may want a handbrake and sequential shifter early. A GT driver may care more about load cell pedals and a rigid cockpit. An F1 fan may prefer a formula-style wheel and a low seating position.
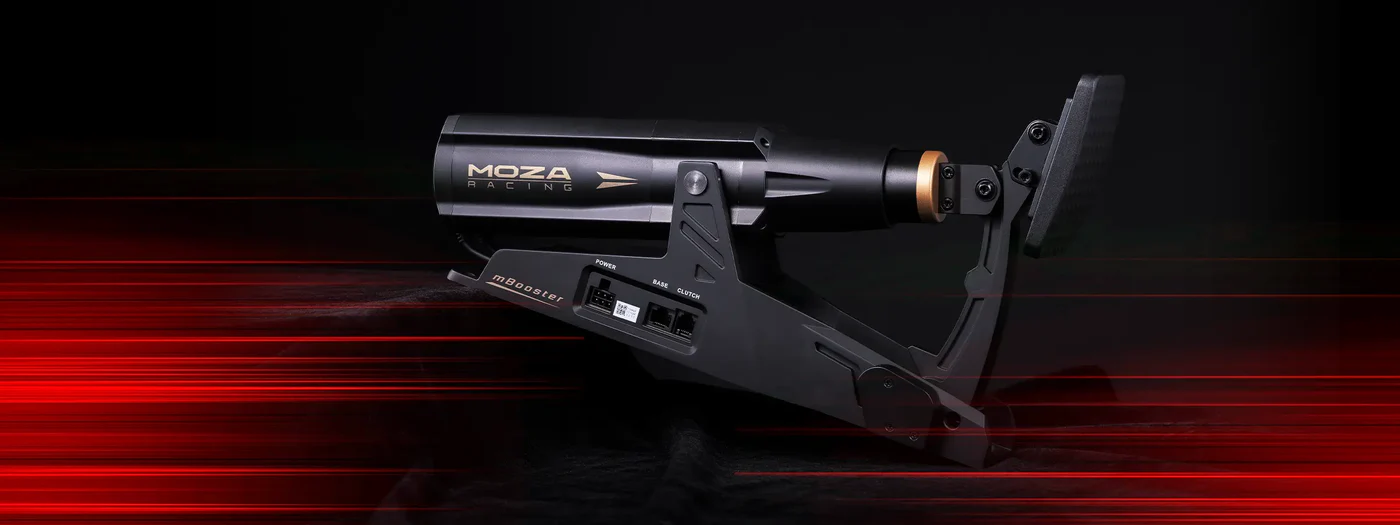
Motion can make a racing simulator setup feel more physical, but it should come after the core build is stable. A motion system needs a cockpit that can handle movement, clean cable routing, enough room around the rig, and hardware mounted securely.
Motion platforms can simulate pitch, roll, yaw, surge, and road texture depending on the system. In real use, the biggest benefit is not just movement. It’s the extra feedback under braking, acceleration, kerb strikes, and weight transfer. Poorly configured motion can become distracting, so setup and calibration are just as important as the hardware.
For many drivers, haptics are the smarter first step before full motion. Once the cockpit, wheel, pedals, display, and software are working well, motion can turn a racing simulator setup into a far more physical experience.
Use motion sim racing and racing simulator accessories as internal anchors in this section.
A racing simulator setup needs occasional maintenance, especially if it uses direct drive feedback, load cell pedals, adjustable mounts, or motion hardware. The most common issues we see are loose bolts, dusty pedals, stretched cables, outdated firmware, and mounts that have shifted after repeated use.
Wipe down the wheel, seat, cockpit frame, pedals, and screens regularly. Check the wheel deck and pedal plate after heavy sessions. Keep firmware current for the wheelbase, pedals, and accessories. Recalibrate the controls if the brake, throttle, clutch, or steering starts to feel inconsistent.
If multiple drivers use the same racing simulator setup, mark common seat and pedal positions. That makes it easier to return to a known position without guessing every time someone else has used the rig.
Showroom Setup Checklist
Before we’d call a racing simulator setup ready for regular use, we’d check:
Wheelbase mounted securely with no unwanted movement
Pedals positioned for firm braking without stretching
Seat adjusted so the driver stays planted under braking
Monitor aligned with the driver’s eye line
Cables routed away from pedals and moving parts
Wheel, pedals, shifter, handbrake, and buttons calibrated in software
Force feedback tested across several laps, not just in the menu
A racing simulator setup doesn’t need to be the most expensive build in the room to feel excellent. It needs the right parts working together, with the cockpit, pedals, wheelbase, display, and calibration all matched to the driver.
The best racing simulator setup starts with a clear plan. Choose the platform first, match the wheelbase to the cockpit, make braking control a priority, set the seating position properly, and place the display where it feels connected to the car.
From our showroom testing, the most successful builds are the ones that focus on stability and repeatability before adding advanced upgrades. Direct drive, load cell pedals, triple monitors, haptics, and motion can all improve the experience, but only when the base setup is solid.
If you’re building your first racing simulator setup, start with the parts that affect every lap: cockpit stability, pedal control, wheel feedback, screen position, and software calibration. Once those are right, every future upgrade becomes easier to judge.