


MOZA R9 V3 Direct Drive Wheelbase Setup, Features and Performance Breakdown
|
|
We’ve tested the MOZA R9 V3 at our Dandenong South showroom to get a clearer feel for how it performs once it’s mounted, connected, calibrated and driven properly. This rewrite turns the original setup guide into a more hands-on review, with practical advice based on product use, not just a spec sheet.
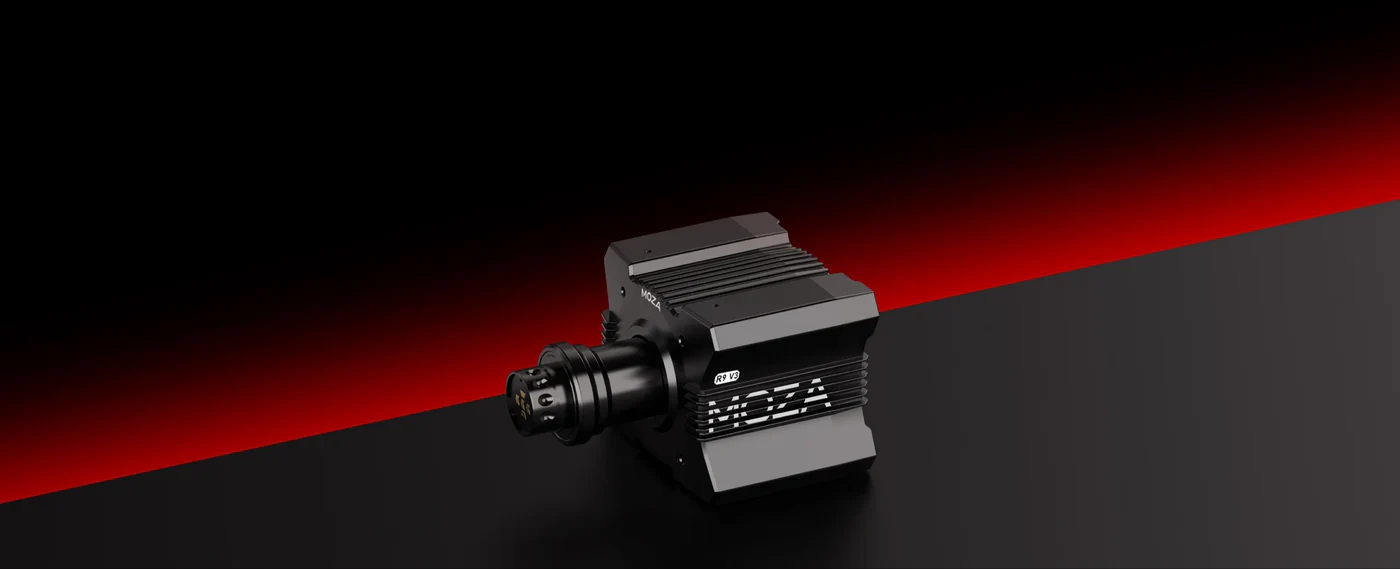
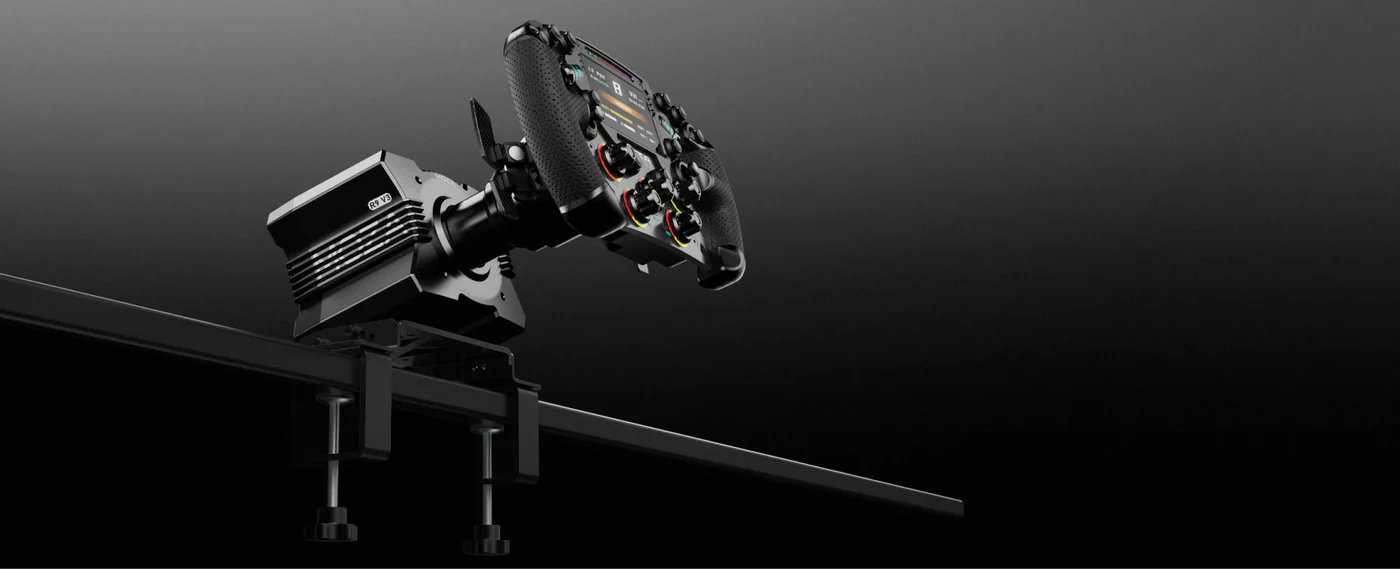
The MOZA R9 V3 sits in a strong position for PC sim racers who want a serious direct drive wheelbase without jumping into the heavier 12Nm, 16Nm or 21Nm category. It delivers 9Nm of torque, uses a 21-bit magnetic encoder, supports MOZA Pit House and mobile app control, and runs through the wider MOZA ecosystem of wheels, pedals, shifters and handbrakes.
In this guide, we’ll walk through what we found during setup, how the wheelbase feels on track, what to check before mounting it, and which settings make the most sense when you’re getting started.
For this MOZA R9 V3 review, our team focused on the areas customers usually ask about before buying a direct drive wheelbase. That included mounting strength, cockpit stability, software setup, steering weight, force feedback detail, cable routing and comfort during longer driving sessions.
We tested the MOZA R9 V3 as a real customer would use it: mounted to a rigid racing simulator cockpit, connected to a Windows PC, configured through MOZA Pit House and used with MOZA-compatible steering and pedal hardware. We also checked the setup process from unboxing through to calibration, because a wheelbase can be powerful on paper and still frustrating if the setup experience feels messy.
The biggest thing we noticed is that the MOZA R9 V3 has enough torque to expose weakness in light rigs. If your cockpit or wheel plate flexes, you’ll feel it straight away. On a solid cockpit, the base feels sharp, controlled and much more detailed than entry-level gear.
If you’re serious about sim racing, the MOZA R9 V3 stands out as a powerhouse that delivers both performance and reliability.
But what really sets this direct drive wheelbase apart, and why are so many racers making it their go-to upgrade?
Let’s break down the core features and see how it stacks up in real-world competition.
The MOZA R9 V3 is packed with specs that make it a top pick for anyone chasing realism. Here’s a quick table to sum up the highlights:
Feature |
Details |
|---|---|
Peak Torque |
9Nm Direct Drive |
Encoder |
21-bit Magnetic Encoder |
Force Feedback Algorithm |
NextGen 4.0 |
Housing |
Aviation-grade Aluminium |
Temperature Control |
Intelligent System |
Signal Transmission |
Industrial Conductive Slip Ring |
USB Refresh Rate |
1000Hz (Ultra-low Latency) |
With its 9Nm direct drive motor, you feel every bump and kerb as if you’re really on the track. The 21-bit magnetic encoder means your steering input is captured with mind-blowing accuracy. NextGen 4.0 force feedback doesn’t just tug on your hands—it lets you sense the tiniest road textures, making every lap more immersive.
Durability is a huge factor, right?
The aviation-grade aluminium housing keeps things cool and solid, while the intelligent temp control system means you can race for hours without a dip in performance.
Plus, the industrial slip ring ensures a clean signal, so you never lose connection mid-race. The MOZA R9 V3’s 1000Hz USB refresh rate all but eliminates input lag, making your reactions razor-sharp.
The MOZA R9 V3 feels strongest in the middle ground between beginner wheels and heavier high-torque bases. In our testing, it had enough strength for GT racing, touring cars, formula-style driving, rally and casual drifting, but it didn’t feel so heavy that you need to wrestle it every lap.
The first thing you notice is the steering detail. Kerbs, weight transfer and small grip changes are easier to read than they are on entry-level wheels. You can feel when the front end starts to load up, when the car gets light over bumps and when you’re pushing too hard into a corner.
The MOZA R9 V3 also feels compact. It doesn’t dominate the cockpit like some larger wheelbases, which makes it a strong choice for home racing rooms, bedrooms, studies and compact simulator setups. The small body is still powerful enough that you should treat mounting seriously.
The base is best when you give it a rigid platform. A weak desk or thin wheel plate can make the force feedback feel less precise because flex absorbs some of the detail you’re trying to feel.
The MOZA R9 V3 makes the most sense for PC sim racers who want a serious upgrade from a Logitech, Thrustmaster or entry-level direct drive setup. It’s also a smart choice if you want to stay inside the MOZA ecosystem and add different wheels, pedals, shifters or handbrakes over time.
We’d recommend the MOZA R9 V3 for:
PC racers upgrading from entry-level wheels
GT, touring car, rally and formula-style players
Drivers who want strong feedback without moving into very high torque
Small to medium simulator rooms
Cockpit-mounted setups
Customers who want one base that can suit multiple racing styles
It’s not the first option we’d suggest for console-only players, very light desks or anyone who wants maximum torque above all else. If you already know you want heavier steering forces, you may want to compare it against higher-output options in the MOZA wheelbase range.
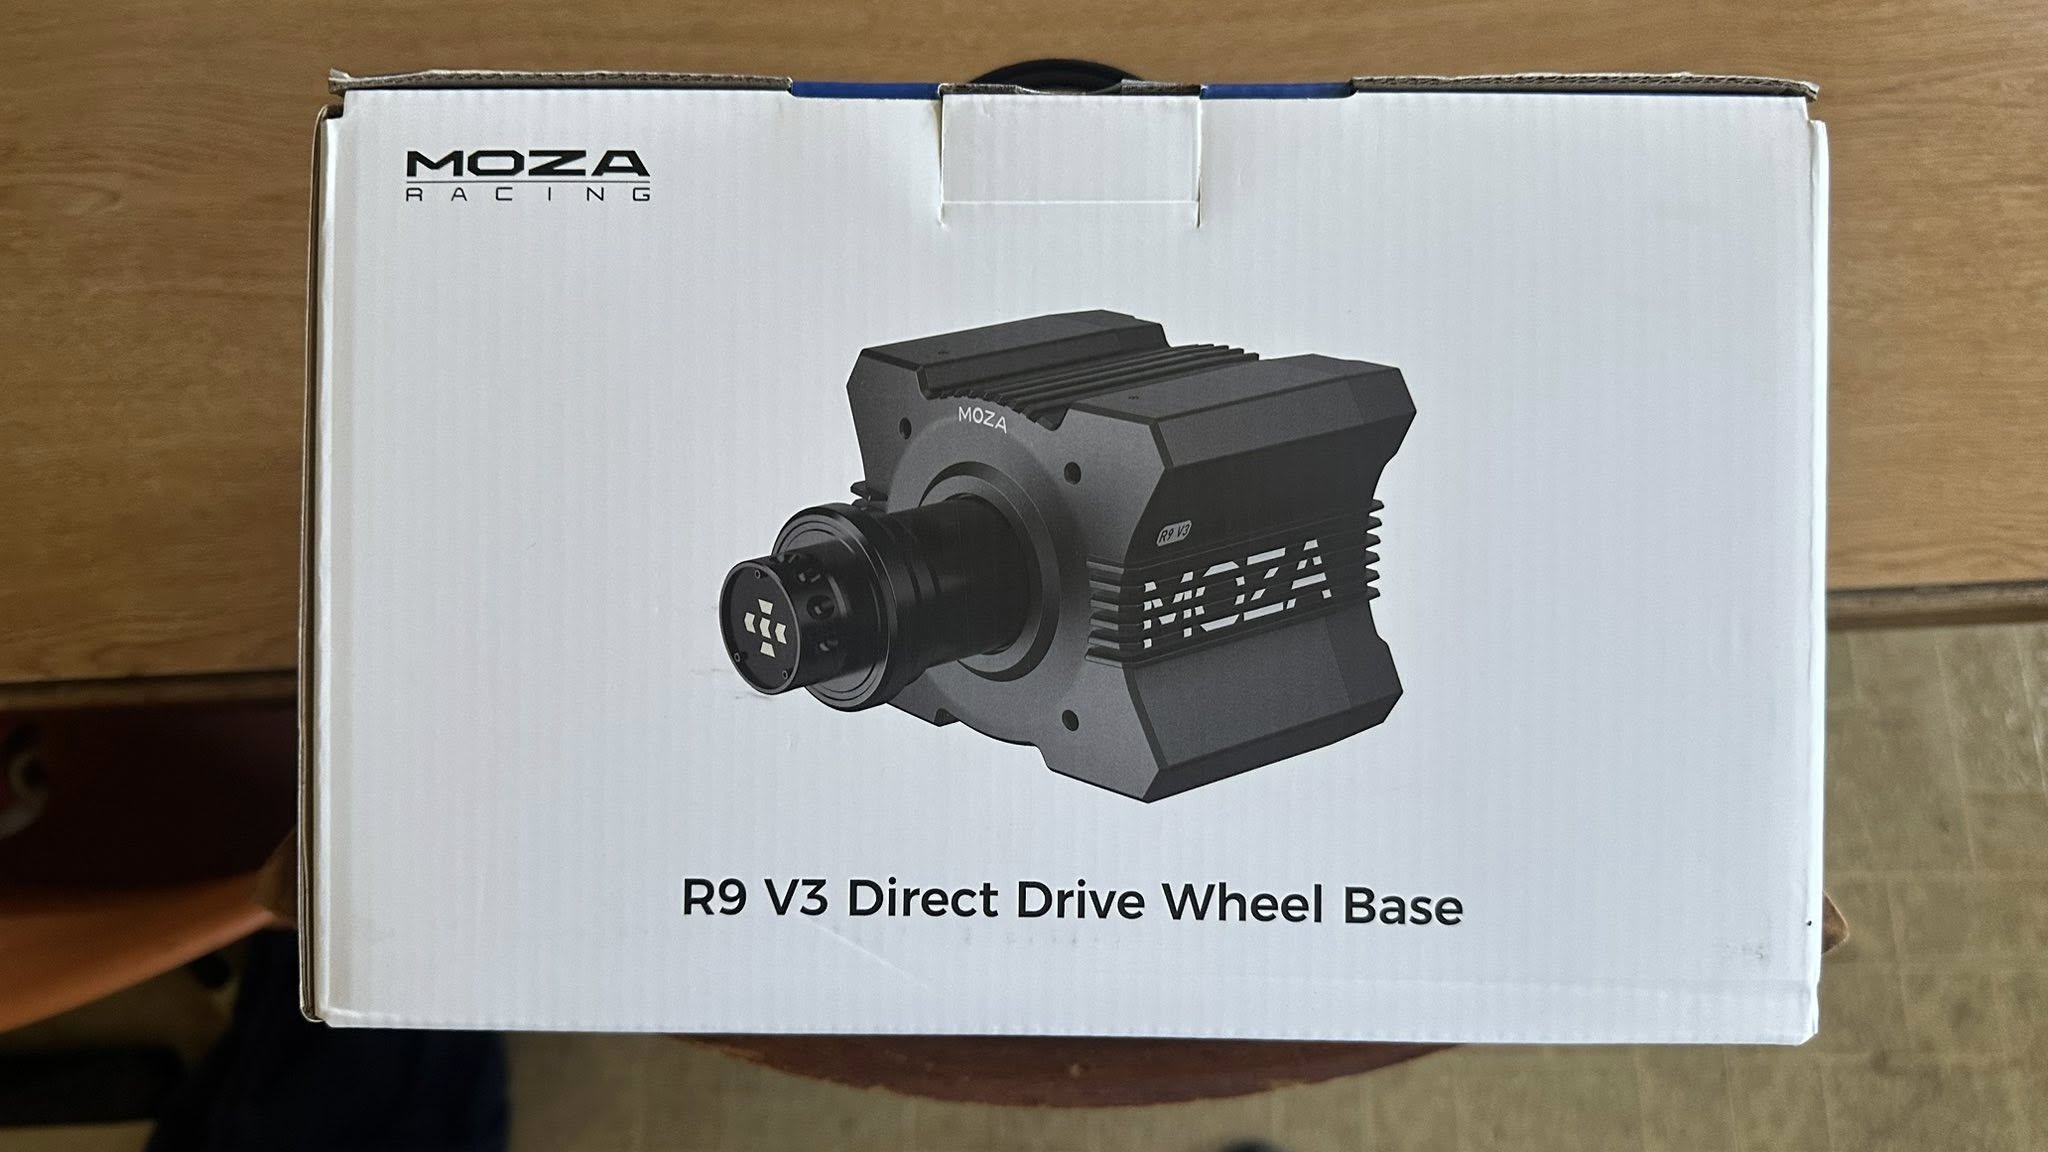
Opening the MOZA R9 V3 for the first time feels like a big moment. The anticipation builds as you lift the lid, knowing you’re about to upgrade your sim racing setup with one of the most advanced direct drive wheelbases available.
Inside the MOZA R9 V3 package, you’ll find everything you need to get started:
MOZA R9 V3 wheelbase
Power adapter
USB cable
Toolkit for mounting
User manual and warranty card
MOZA logo sticker
Portable cloth bag for protection
Everything is packed securely, with each component wrapped and cushioned to prevent damage. The inclusion of the toolkit and portable bag is a thoughtful touch, making setup and transport easier for you.
From the moment you open the box, it’s clear that attention to detail is a priority with the MOZA R9 V3.
The packaging itself feels premium, with a sturdy outer box and custom inserts that hold the MOZA R9 V3 firmly in place. When you pick up the wheelbase, you’ll notice its satisfying weight and the cool, solid feel of aviation-grade aluminium.
The finish is sleek, and subtle branding adds to the high-end vibe. Users often mention in reviews how the MOZA R9 V3 looks and feels like a serious piece of racing equipment as soon as it’s in hand. The build quality inspires confidence for long-term use, and the overall design blends well into any sim racing rig.
Setting up the MOZA R9 V3 is refreshingly straightforward. You can mount it using the standard bottom mount, an optional side mount bracket for custom cockpits, or a desk clamp for flexible setups. The quick-release system lets you swap wheels in seconds, which is a huge plus if you like experimenting with different steering wheels.
Many users praise the initial setup process, noting how everything fits together smoothly. You’ll also appreciate the included 24-month warranty and local Australian support, which are detailed in the MOZA Racing Australia guide. This peace of mind makes the MOZA R9 V3 even more appealing for anyone serious about sim racing.
Setting up your MOZA R9 V3 is the first step towards unlocking its full racing potential. Whether you're a seasoned sim racer or just upgrading your gear, a smooth setup process makes all the difference.
Let's walk through each stage so your MOZA R9 V3 is ready to deliver peak performance from your very first lap.
Choosing the right foundation for your MOZA R9 V3 is crucial. Start by selecting a sturdy cockpit or desk that can handle the 9Nm force feedback without flex. Popular options include dedicated aluminium rigs or reinforced gaming desks. Make sure your setup fits comfortably in your space and allows for proper seating position.
Before mounting, double-check compatibility with your PC and any other peripherals you plan to use, such as pedals, shifters, or handbrakes. It's a good idea to review your power supply to ensure stable operation. If you want extra safety, consider adding an emergency stop switch, especially for high-torque sessions.
Keep your cables organised to avoid tangles and accidental trips. Use cable ties or clips to route USB and power lines away from your feet and pedals. For more detailed tips, the sim racing setup guide offers practical advice tailored to Australian sim racers.
Once your rig is ready, it's time to mount the MOZA R9 V3. The base supports several mounting options:
Bottom mount: Align the wheelbase with your cockpit's pre-drilled holes. Use the included bolts for a secure fit.
Side mount bracket: For custom rigs, attach the optional side mount bracket, then fasten the MOZA R9 V3 securely.
Desk clamp: If you prefer flexibility, use the desk clamp by tightening it onto a flat surface. Make sure the desk can handle the force feedback.
Connect your power adapter and USB cable to your PC. Plug in any extra peripherals like shifters or handbrakes into the dedicated ports on the MOZA R9 V3. The quick-release system lets you swap steering wheels with ease, adding versatility for different racing styles.
Take a moment to ensure every connection is tight and all cables are neatly routed. This prevents disruptions during intense races and keeps your setup looking sharp.
With everything mounted, connect the MOZA R9 V3 to your PC and switch on the power. Your computer should recognise the device automatically. If it doesn't, try reconnecting the USB cable or checking your drivers.
Next, install the latest firmware using the MOZA Pit House software. This step is vital for accessing new features and ensuring optimal force feedback. Watch for indicator lights on the MOZA R9 V3 to confirm the system status. A steady light usually means you're good to go.
Calibrate your wheelbase following the on-screen instructions. Many users report that their first experience with the MOZA R9 V3 is seamless, with the initial setup and calibration taking just a few minutes. If you run into any issues, refer to the user manual or online support for quick troubleshooting.
Now you're ready to hit the virtual track with confidence, knowing your MOZA R9 V3 is set up for action.
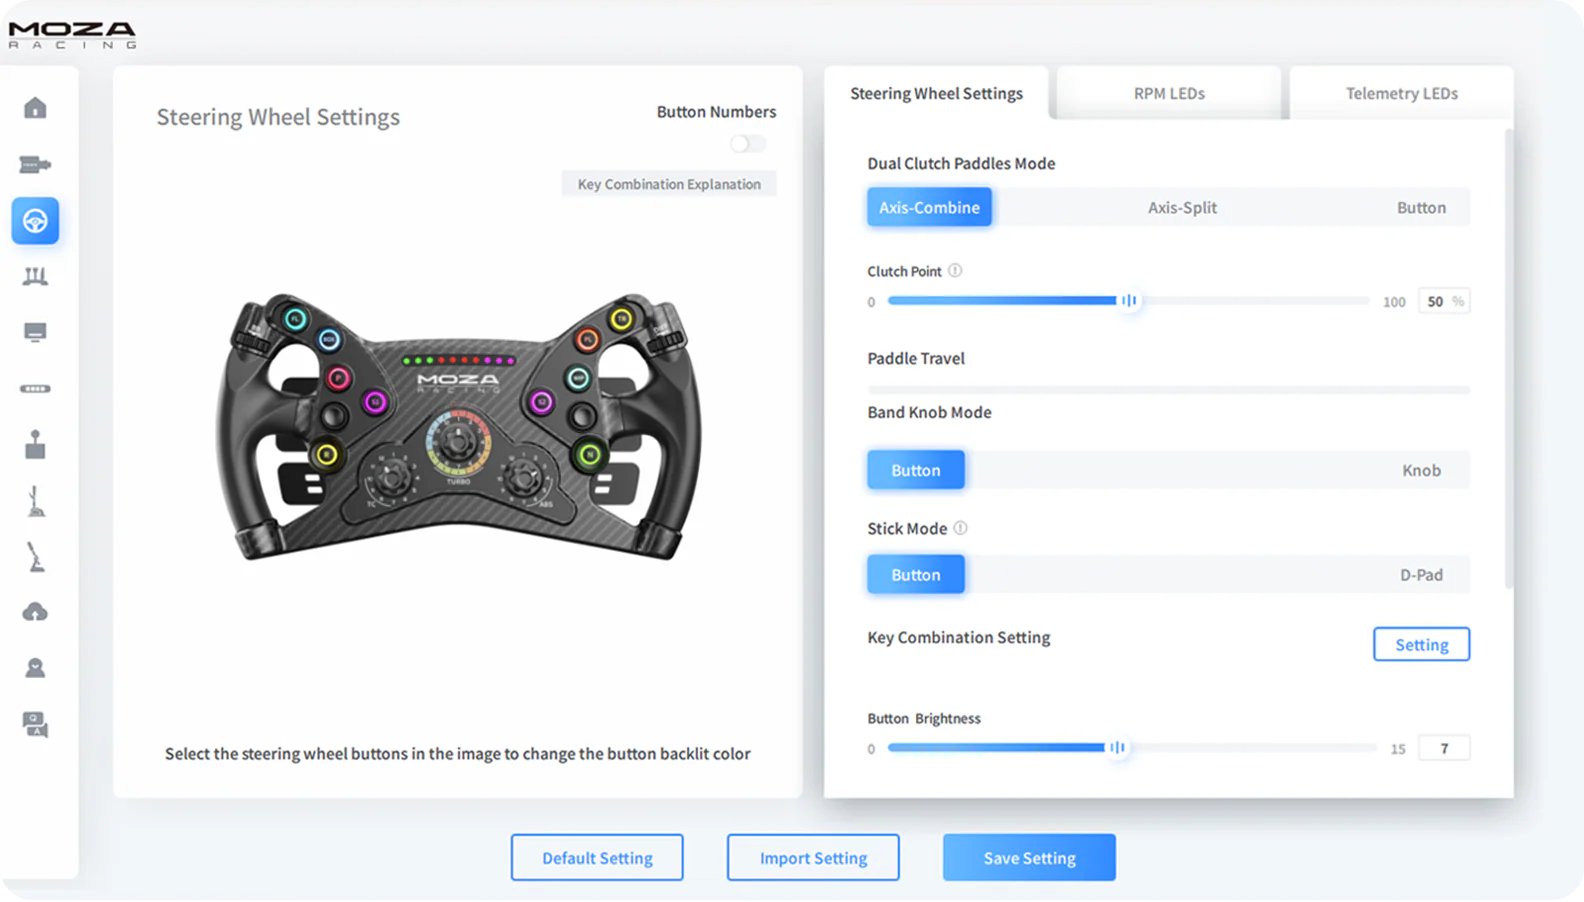
If you want to unlock the full potential of your MOZA R9 V3, mastering the MOZA Pit House software is a must. This is where the magic happens, letting you transform your racing experience from good to truly elite.
So, how do you get started and what should you expect?
First, download the MOZA Pit House software directly from the official MOZA website. Installation is straightforward, and you’ll be guided through each step, so even if you’re new to sim racing software, you’ll be up and running fast.
Once installed, the user interface greets you with a clean dashboard. Here, you can connect your MOZA R9 V3 and see all attached peripherals at a glance. The Pit House interface is intuitive, with all key features just a click away. You’ll find sections for device management, tuning, and firmware updates.
Connecting the MOZA R9 V3 is as simple as plugging it in and letting the software recognise it automatically.
Download software from MOZA’s official site
Follow install prompts
Connect MOZA R9 V3 and peripherals
Explore the dashboard for device management
This is your launchpad for everything that follows.
Now comes the fun part: tuning your MOZA R9 V3 for the perfect feel on track. The software lets you adjust torque, rotation angle (from 90° to a whopping 2700°), and damping to match your driving style.
For different genres such as GT, rally, or F1, you can create and save custom profiles. Switching between them is as easy as a single click.
Want to tweak things mid-race?
Use the cloud-based mobile app to make adjustments on the fly, without leaving your seat.
Here’s a quick table to summarise key settings:
Setting |
Range/Options |
Best For |
|---|---|---|
Torque |
0–9Nm |
Personal comfort |
Rotation Angle |
90°–2700° |
Game genre |
Damping |
Off–High |
Road feel |
Fine-tuning these settings on your MOZA R9 V3 can make the difference between a good lap and a personal best.
Keeping your MOZA R9 V3 updated is essential for getting the best performance and reliability. Within Pit House, you’ll find a dedicated tab for firmware upgrades. Simply follow the prompts to check for updates and install them with a click.
If you run into connection issues, start by checking USB and power cables. The software offers clear error messages to help you diagnose problems quickly. Common fixes include unplugging and reconnecting devices or restarting Pit House.
A recent user story highlights how a firmware update significantly improved force feedback accuracy on their MOZA R9 V3. If you ever notice the wheel feeling “off,” a quick firmware refresh can often set things right.
Remember, the MOZA Racing community is packed with helpful advice if you get stuck, and official support is always just a ticket away.
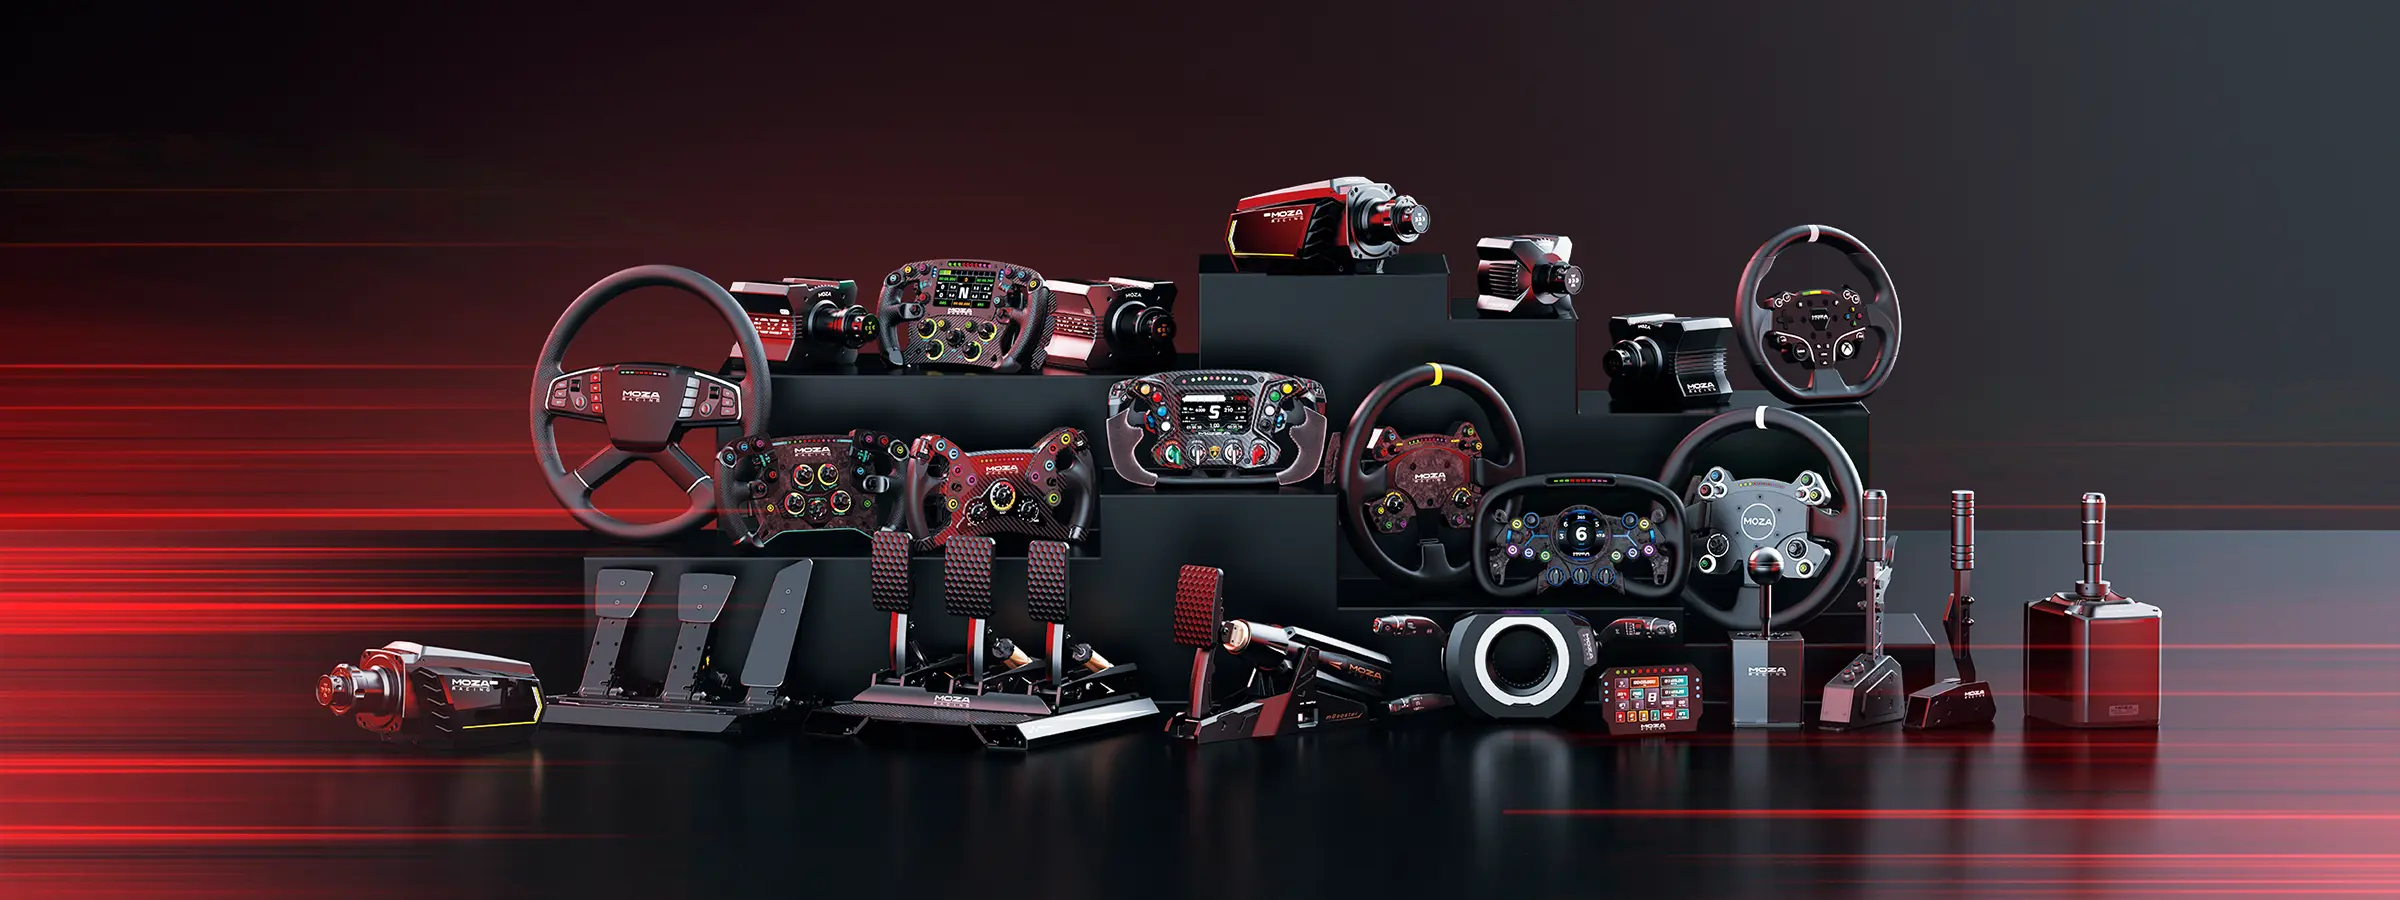
The MOZA R9 V3 shines when paired with the right accessories. You can choose from MOZA’s extensive steering wheel lineup, like the CS Pro for GT racing, KS Pro for rally fans, or the Mission R for open-wheel enthusiasts. Each wheel clicks in with a sturdy quick-release, making swaps effortless.
Pedal choices are just as important. MOZA’s pedal sets, such as the SR-P Lite and CRP, deliver smooth, precise control for both braking and acceleration. Serious racers often add a load cell brake or upgrade to hydraulic pedals for maximum realism.
Don’t forget shifters and handbrakes—these add-ons are plug-and-play and make drifting or rally stages feel true to life.
Here’s a quick compatibility summary:
Accessory Type |
MOZA Options |
Experience Boost |
|---|---|---|
Steering Wheels |
CS Pro, KS Pro, Mission R |
Customised grip, style |
Pedals |
SR-P Lite, CRP |
Realistic pedal feel |
Shifter |
HGP, Sequential |
Manual gear changes |
Handbrake |
HBP |
Drift/rally control |
Let’s dive into advanced tuning and troubleshooting so you can race at your best, lap after lap.
Getting the most out of your MOZA R9 V3 means tailoring it to your unique racing preferences. For endurance races, try reducing force feedback strength and increasing damping. This helps avoid fatigue and keeps your inputs smooth over long stints. For sprint racing, crank up the force feedback for sharper, more direct road feel.
Dead zones and sensitivity settings are your best friends here. Adjusting these lets you eliminate unwanted play and dial in precise steering response. Response curves also make a difference, especially if you switch between GT, rally, and F1. Many racers share their custom profiles, so don’t be afraid to experiment or import a setup that matches your style.
Here’s a quick table to help you visualise tuning settings:
Racing Style |
Torque |
Damping |
Rotation Angle |
Response Curve |
|---|---|---|---|---|
Endurance |
Low |
High |
1080° |
Linear |
Sprint |
High |
Medium |
900° |
Aggressive |
F1/Formula |
Medium |
Low |
360-540° |
Exponential |
Curious about the tech behind these adjustments?
Check out this guide to direct drive wheel advantages to see how the MOZA R9 V3 stands out in precision and feel.
Even with a reliable setup like the MOZA R9 V3, you might encounter a hiccup or two. No worries—most issues are quick fixes if you know where to look.
Connection problems: Double check your USB and power cables. Try a different port if the wheel isn’t recognised.
Overheating or force feedback dropouts: Make sure the wheelbase has good airflow, and avoid blocking vents. If it feels hot, give it a short break.
Firmware update failures: Close all non-essential programs, restart your PC, and only run the Pit House software during updates.
Mounting or calibration issues: Ensure all bolts are tight, and recalibrate in software if your wheel isn’t centred.
If you ever hit a wall, don’t panic. Most problems are solved with a quick cable check or a firmware update. Keep your user manual handy for step-by-step troubleshooting tips.
After testing the MOZA R9 V3 in our Dandenong South showroom, we’d place it in the sweet spot for serious PC sim racers who want strong direct drive feedback without moving into heavier high-torque bases.
The biggest strengths are the compact housing, 9Nm torque output, clean steering detail, wide MOZA ecosystem support and strong software control through Pit House. The main thing to get right is mounting. Put the MOZA R9 V3 on a weak desk or flimsy wheel stand and you’ll lose some of the detail that makes direct drive feel so good.
For most Australian sim racers upgrading from entry-level gear, the MOZA R9 V3 is a strong choice. It gives you enough torque to feel road texture, kerbs, weight transfer and tyre load, while still being manageable for regular racing sessions.
If you’re planning a proper home racing setup, start with a stable cockpit, choose the right steering wheel, add a quality pedal set and then use Pit House to shape the wheelbase around your preferred driving style.
Explore MOZA racing simulator gear, direct drive wheelbases, sim racing cockpits, sim racing pedals and racing simulator accessories to complete your setup.