

What To Know Before Building A Driving Simulator Setup
|
|
A driving simulator setup can look simple when you're comparing product photos, but the real feel comes from how every part works together once it's mounted, adjusted and driven. The cockpit, wheelbase, pedals, seat, display and software all shape the experience. One weak part can make the whole rig feel less stable, less comfortable or harder to control.
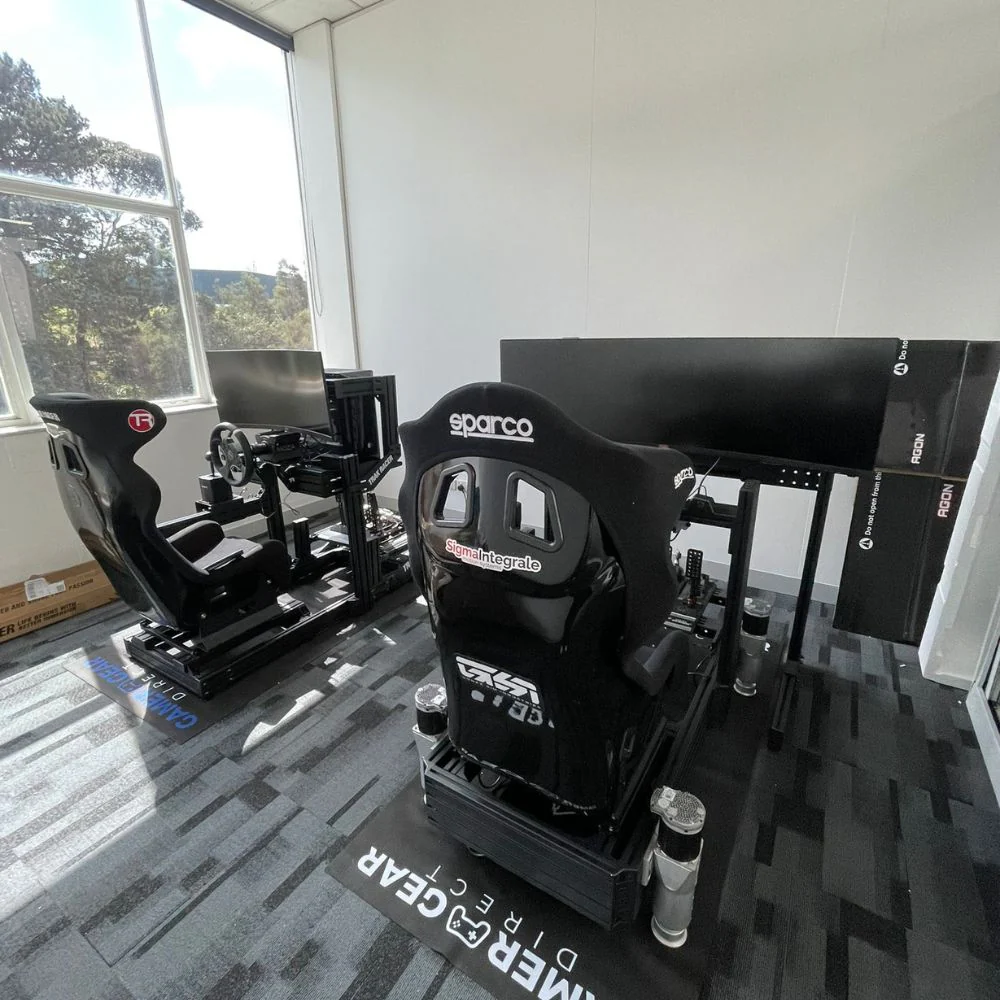
At Gamer Gear Direct, we've worked with customers planning everything from compact lounge room rigs to full showroom-style racing simulators. We've assembled cockpits, mounted wheelbases, adjusted pedal positions, checked seat angles and helped drivers choose gear based on space, budget, platform and upgrade plans. That hands-on product experience is what shapes the advice in this article.
The aim isn't to push the most expensive hardware. A good driving simulator setup should suit the driver, the room and the type of racing being played. For some people, that means a compact rig with a direct drive bundle. For others, it means a rigid cockpit, load-cell pedals, triple screens and room for future motion.
When we assess a driving simulator setup, we don't look at one product in isolation. A wheelbase might have impressive torque, but it still needs a cockpit that can handle the force. A set of load-cell pedals can improve braking control, but only if the pedal plate stays firm under pressure. A premium seat can feel wrong if the driving position doesn't suit the person using it.
In our Dandenong South showroom, the checks are simple but important. We look at cockpit flex, pedal plate strength, wheel deck movement, seating position, monitor distance, shifter placement and cable routing. We also check how easy the setup is to adjust after it's built, because most drivers change their position once they've spent real time driving.
For Australian customers, we also think about delivery size, room access, storage and future upgrades. A driving simulator setup has to work in the space available, not just in a product listing.
A modern driving simulator setup usually starts with six core parts: a cockpit, wheelbase, steering wheel, pedals, seat and display. Shifters, handbrakes, button boxes, tactile feedback, motion systems and VR can be added later, but the core setup needs to be right first.
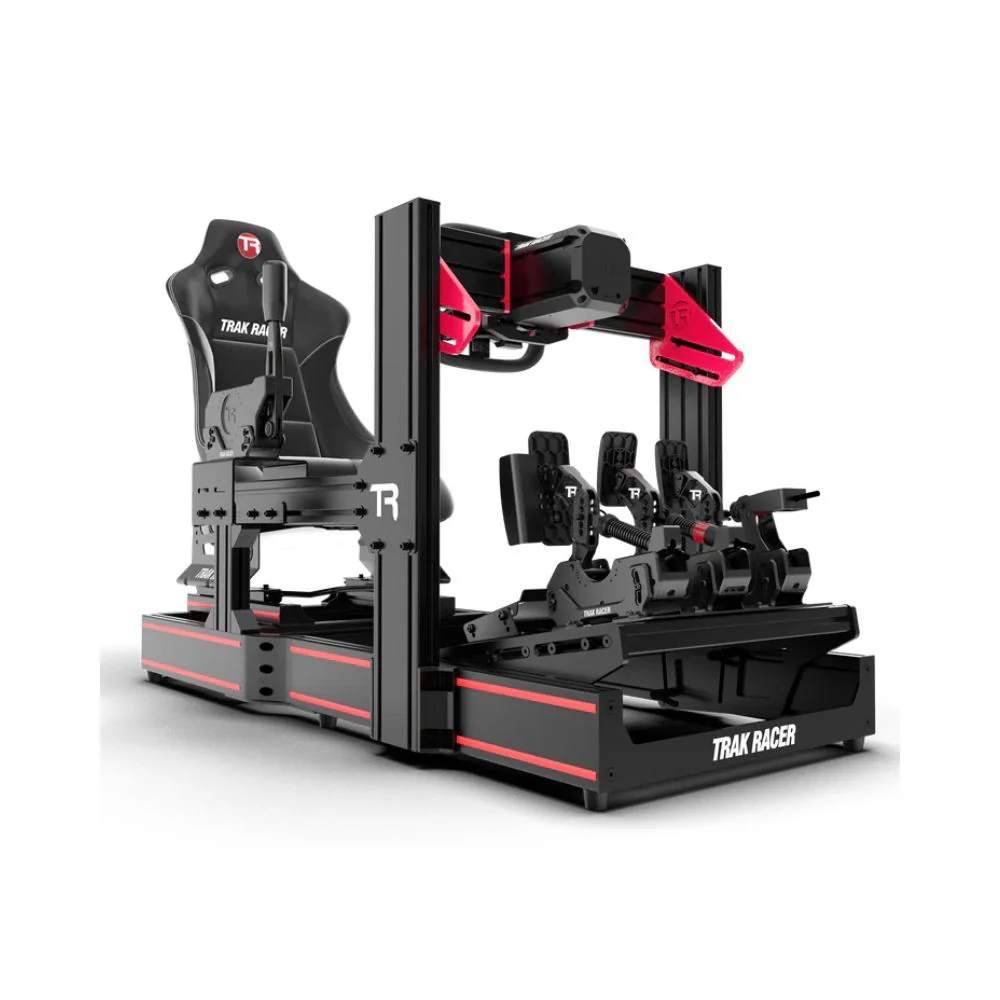
The cockpit is the foundation. If the frame moves under braking or steering load, the detail from the wheelbase and pedals gets lost. For stronger wheelbases and load-cell pedals, a rigid racing simulator cockpit is usually the smarter place to start.
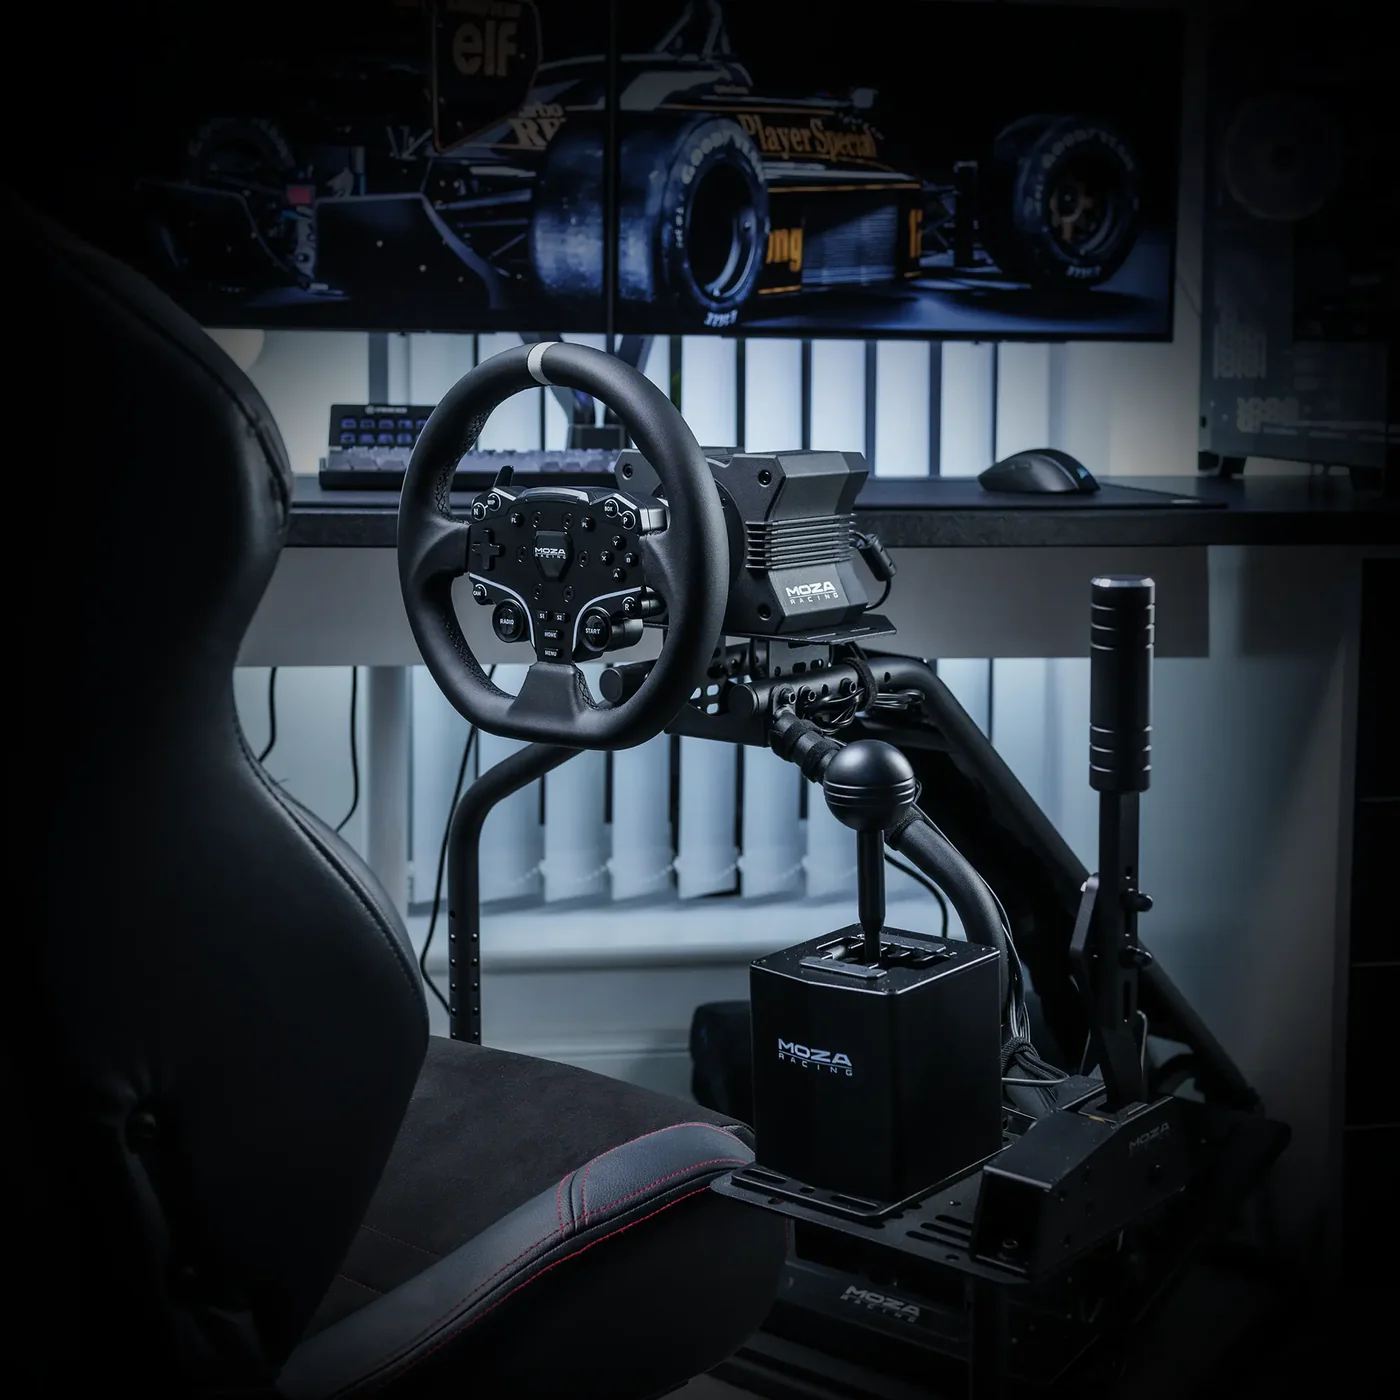
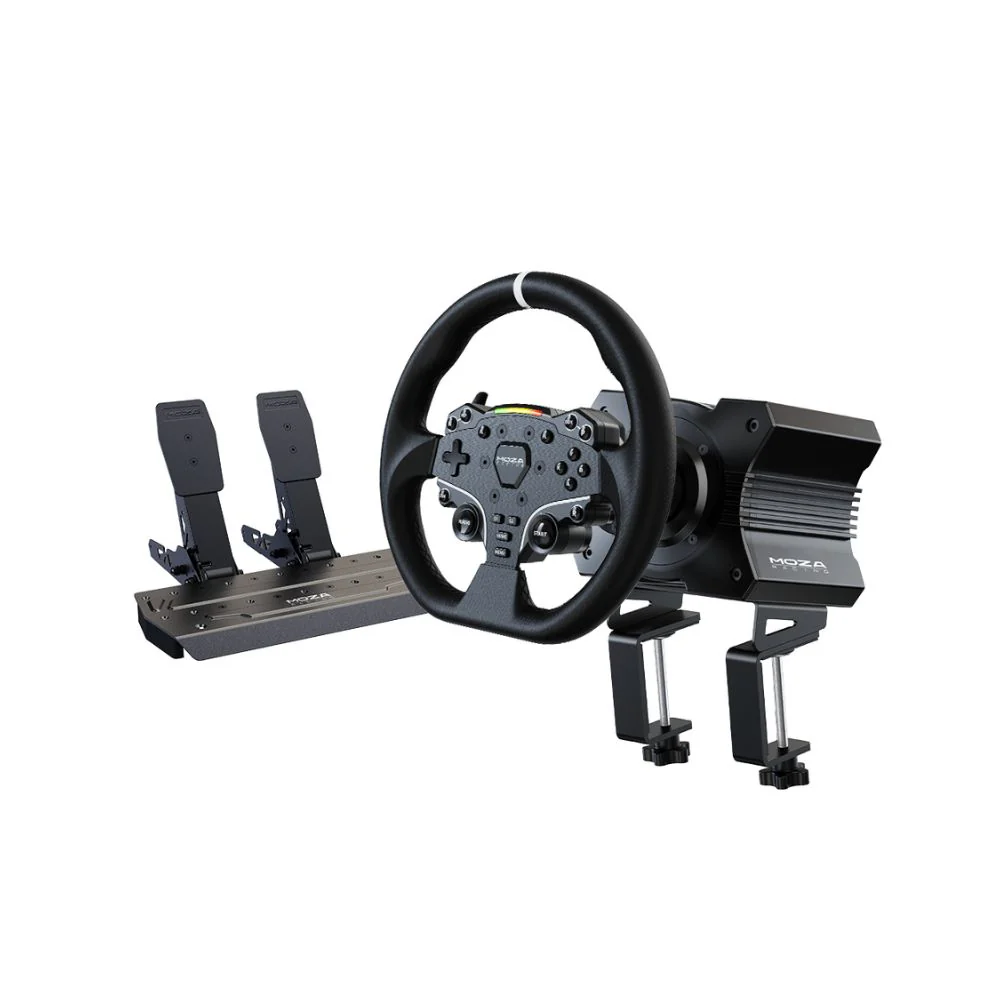
The wheelbase controls force feedback. Direct drive models deliver sharper steering detail than entry-level gear-driven or belt-driven options, but they also place more stress on the frame. This is why we match a direct drive wheelbase to the cockpit, not just to the budget.
The pedals have a bigger effect on consistency than many beginners expect. A load-cell brake can make braking feel more controlled because it responds to pressure rather than just pedal travel. For many drivers, quality sim racing pedals change lap consistency before any other upgrade.
The seat controls comfort and body position. If the seat is too upright, too reclined or too far from the pedals, the whole setup feels awkward. The best seat is the one that lets the driver brake firmly, steer smoothly and stay comfortable during longer sessions.
A driving simulator setup often goes wrong when the parts are chosen separately instead of as a complete system. One common mistake is buying a powerful wheelbase and mounting it to a light frame that flexes. The driver gets force, but the detail feels vague because the cockpit moves.
Another mistake is ignoring pedal strength. Load-cell pedals need a stable pedal plate. If the pedal deck bends under braking, the driver has to fight the frame instead of building consistent muscle memory.
Space planning also gets overlooked. A rig might fit the floor area, but the driver still needs room to get in and out, recline the seat, route cables and place the monitor at a comfortable distance. If a monitor stand is added later, the footprint can change again.
Compatibility is another major issue. Not every steering wheel works with every wheelbase. Not every shifter or handbrake works on every console. Before buying, check the platform, mounting points and connection path for the full driving simulator setup.
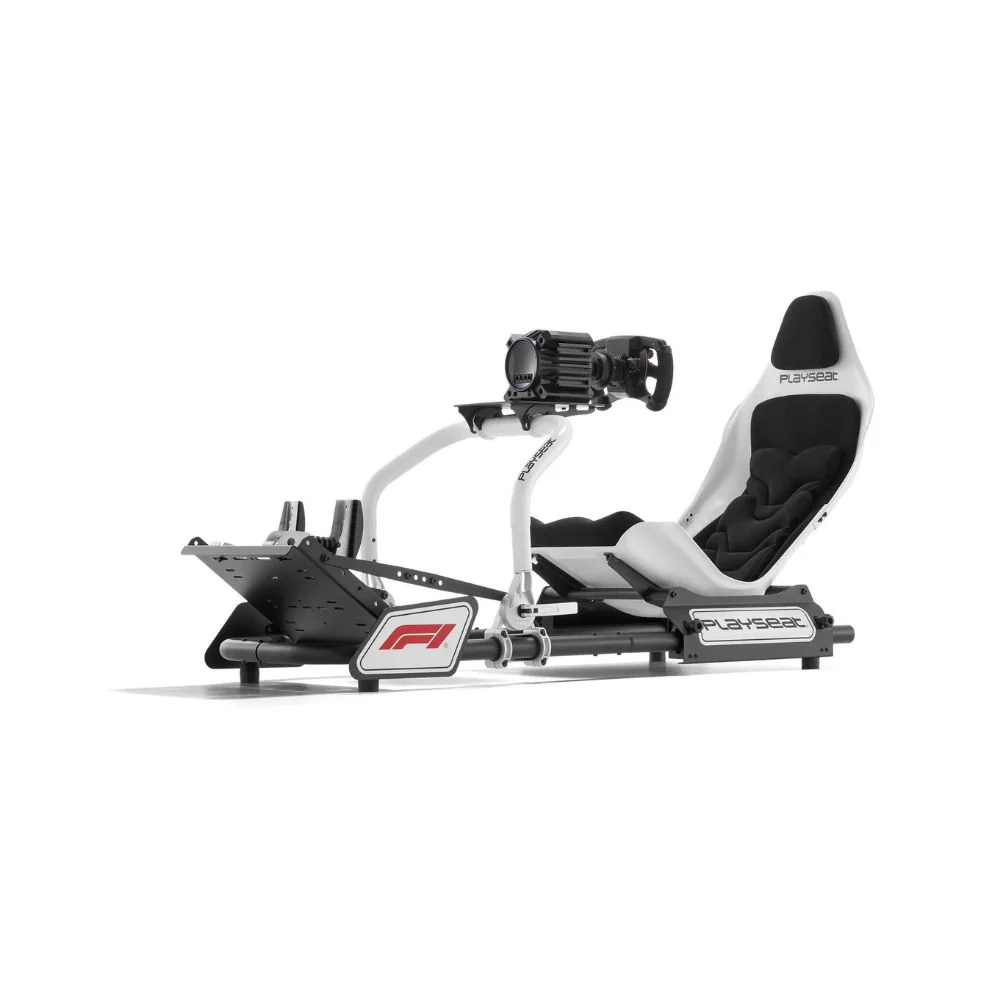
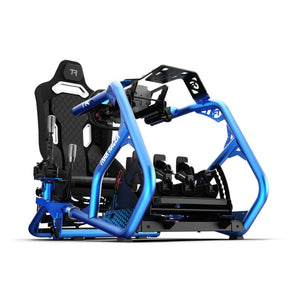
The cockpit decides how stable your driving simulator setup feels. Foldable rigs can work well for casual drivers or shared spaces. Tubular steel cockpits suit drivers who want a stronger frame without going too large. Aluminium profile cockpits are usually best for heavier hardware, high pedal pressure and future accessories.
The right choice depends on the wheelbase, pedals and room. A compact setup for console racing doesn't need the same frame as a full PC rig with a direct drive wheelbase, load-cell pedals, triple monitors and motion plans.
In our showroom, cockpit stability is one of the first things we check. We look for movement at the wheel deck, pedal plate and seat mount. A small amount of movement might not sound like much, but it becomes more obvious once force feedback and braking pressure are added.
For anyone planning upgrades, a modular cockpit is worth considering early. It's easier to add a shifter mount, handbrake plate, monitor stand or motion system when the frame already supports those accessories.
The controls are where a driving simulator setup starts to feel personal. Some drivers want GT-style racing with a round or D-shaped wheel. Others prefer an F1-style wheel with more buttons, rotary controls and a compact shape. The steering wheel should suit the type of racing, the platform and the wheelbase.
Wheelbase strength should match the cockpit. A high-torque direct drive base on a weak frame can feel rough instead of refined. A lower-torque direct drive base on a stable cockpit can feel cleaner because the driver feels more steering detail and less frame movement.
Pedals should be chosen with braking style in mind. Entry-level pedals are easier to use and cost less, but load-cell pedals give stronger control once the driver learns to brake by pressure. For a driving simulator setup focused on consistency, pedals shouldn't be treated as an afterthought.
A shifter and handbrake depend on the racing style. Circuit racers may not need them straight away. Drift, rally and truck sim drivers often get more value from adding them earlier.
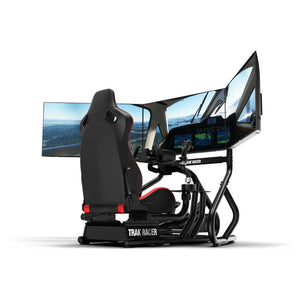
A driving simulator setup needs a clear view of the road. A single monitor keeps things simple and works well for compact rooms. An ultrawide monitor gives a broader view without needing the width of three separate screens. Triple monitors create a wider field of view, but they need more space and careful alignment.
VR can feel highly immersive because the driver can turn their head naturally inside the cockpit. The trade-off is comfort. Some people love VR for shorter sessions, while others prefer monitors for longer races because they're easier on the body.
Display position is often more important than screen size. If the screen is too far away, the cockpit feels detached from the car. If it's too high or too low, the driver's eyeline feels wrong. When we help customers think through a monitor setup, we look at screen distance, height, field of view and how the display mount fits around the cockpit.
Audio also changes immersion. Headphones are simple and space-friendly. Speakers can make the room feel more open. Tactile transducers can add vibration through the seat or pedals, giving the driver more feedback from kerbs, shifts and road texture.
Before ordering a driving simulator setup, measure the space properly. Don't only measure the cockpit footprint. Allow room behind the seat, beside the frame, around the pedals and near the display. You also need to think about access through doors, hallways and stairs.
A small room can still work well with the right layout. Compact cockpits, single monitors and tidy cable routing can keep the setup clean. Larger rooms can support triple monitors, standalone display mounts, speaker systems and storage for extra wheels or accessories.
Power is another part of planning. A wheelbase, PC or console, monitor, speakers, lighting and accessories can quickly fill the available outlets. Use safe power management and keep cables away from pedals and moving parts.
Noise can also be a factor. Pedals, shifters and tactile feedback can create vibration through floors and walls. If the rig is in a shared home, add floor protection and think carefully before adding heavy vibration effects.
Not every driver needs the same driving simulator setup. A beginner setup should focus on reliable mounting, simple controls and a clear upgrade path. A compact rig with a direct drive bundle and basic pedals can be a better starting point than an oversized frame that doesn't suit the room.
A GT-style setup should focus on a stable cockpit, comfortable seat, round or D-shaped wheel and pedals that support consistent braking. This is a good path for drivers who play circuit racing titles and want an all-round racing position.
An F1-style setup needs a different seating angle, a formula-style steering wheel and a cockpit that can support a lower, more reclined position. Some hybrid cockpits can switch between GT and formula positions, but adjustment range should be checked before buying.
A motion-ready driving simulator setup needs more planning. Motion systems add movement, weight and wiring. The cockpit, monitor position and surrounding space all need to work with the system. Anyone thinking about a motion simulator should plan the frame and room layout before buying the rest of the gear.
Setup type |
Best for |
Main priority |
|---|---|---|
Compact setup |
Shared rooms and beginners |
Space, simple mounting and easy storage |
GT-style setup |
Circuit racing and all-round use |
Stable cockpit and comfortable seat position |
F1-style setup |
Formula-style racing |
Reclined seat angle and formula wheel layout |
Motion-ready setup |
High-immersion builds |
Rigid frame, space and upgrade planning |
Once the parts arrive, take your time with assembly. Build the frame first, then mount the seat, wheelbase, pedals and accessories. Tighten bolts gradually so the cockpit stays square. After the main hardware is installed, sit in the rig before finalising every bolt.
The first seating position usually isn't the final position. Move the pedals, seat and wheel deck until your arms and legs feel relaxed. You should be able to steer without reaching and brake firmly without sliding back in the seat.
Cable routing should be done before the setup is pushed against a wall. Leave enough slack for adjustable parts, but keep cables away from pedals and moving brackets. Velcro straps are usually better than permanent ties in areas that may need future changes.
After assembly, check all moving points again. A driving simulator setup can loosen slightly after the first few sessions, especially around the pedal plate, wheel deck and seat rails.
Hardware is only half of a driving simulator setup. Software settings can change the feel dramatically. Install the correct drivers and firmware for the wheelbase, pedals and accessories before loading your racing titles.
Start with basic calibration. Centre the wheel, set the steering range, calibrate pedal travel and check shifter inputs. Then test the car on track at moderate force feedback before increasing strength. Too much force feedback can hide detail and make the wheel feel heavy without improving control.
Brake calibration deserves extra attention. If the brake is too sensitive, the car locks up too easily. If it needs too much pressure, the driver may strain or brace against the seat. The right setting should let the driver brake firmly and repeat the same pressure lap after lap.
Display settings also need care. Field of view, seat position in-game and monitor distance should work together. A driving simulator setup feels more natural when the view lines up with the real seating position.
Once the core driving simulator setup feels stable, upgrades can add more detail and immersion. A shifter, handbrake or button box can make the cockpit easier to control, especially for rally, drift, touring car or truck simulator use.
Tactile feedback can add vibration through the frame, seat or pedals. It can give useful cues for gear changes, kerbs and traction loss when installed correctly. Too much vibration can become distracting, so start with subtle settings.
Motion is the biggest upgrade path. It can add pitch, roll, surge and road effects, but it also needs the right cockpit and room. A motion-ready frame, safe wiring and enough surrounding space are essential.
Extra steering wheels are also useful for drivers who switch between racing styles. A round wheel, formula wheel and GT wheel can all change how the car feels. This is where sim racing accessories can make the setup more flexible without replacing the main frame.
A driving simulator setup needs basic care to stay smooth. Check bolts, pedal mounts and seat rails regularly. Wipe down the wheel, pedals and seat after longer sessions. Keep dust away from moving parts and avoid pulling cables tight.
Firmware updates can improve compatibility and add new settings, but they should be done carefully. Update one device at a time, then test the setup before changing more settings.
If something feels off, check the simple things first. Loose bolts, moved pedals, changed software settings or a different car profile can all affect the feel. Most setup issues come from adjustment, calibration or compatibility rather than a faulty product.
A driving simulator setup is easier to choose when the full system is planned from the start. At Gamer Gear Direct, we ask about platform, racing style, room size, budget, current hardware and future upgrades before recommending products.
For beginners, we usually focus on a setup that's stable, easy to use and simple to grow over time. For experienced drivers, we look closer at cockpit rigidity, pedal feel, wheelbase strength, display layout and accessory mounting. For premium builds, we think about triple monitors, motion, tactile feedback and long-term comfort.
Customers can also use our Dandenong South showroom to compare the feel of different setups and get a clearer idea of what suits their space. That hands-on comparison is valuable because a driving simulator setup can feel very different once the driver is seated, braking and steering.
You can also explore racing simulator bundles, MOZA racing sim options and full cockpit setups if you want a more complete starting point.
The best driving simulator setup isn't always the largest or most expensive one. It's the setup that gives the driver a stable frame, comfortable position, accurate controls, clear display view and room to upgrade without starting again.
Start with the foundation. Get the cockpit, seat and pedal position right. Match the wheelbase to the frame. Choose a display layout that suits the room. Then add accessories once the core experience feels right.
A well-planned driving simulator setup feels better, lasts longer and gives you a clearer upgrade path as your racing needs grow.